I preserve cake by matching storage to frosting type and timeline.
Unfrosted layers sit wrapped at room temperature for about 24 hours; frosted cakes last 2–3 days if sealed airtight.
Perishable toppings like cream cheese or whipped cream require refrigeration within two hours.
Cold air dries crumb, so wrap aggressively.
For longer storage, freeze layers double-wrapped in plastic then foil, date labeled, up to four months; thaw slowly while wrapped to prevent condensation.
Cold layers around 40°F firm buttercream for cleaner edges.
The storage method you choose directly affects cake texture and shelf life.
When You MUST Refrigerate: Perishable Frostings & Fillings
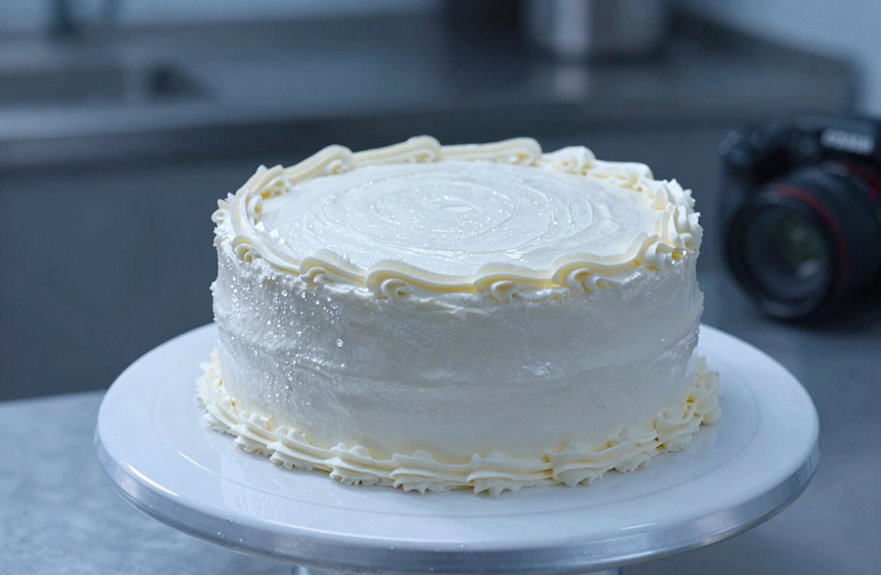
Anyone who’s left a cream cheese-frosted cake on the counter overnight knows the disappointment of discovering it’s gone funky. Perishable frostings demand refrigeration without exception.
Cream cheese, whipped cream, custard, Bavarian cream, mousse, and fresh fruit toppings spoil fast. These shorten your storage window dramatically. For spoilage prevention, refrigerate the cake within 24 hours.
Always use an airtight container when refrigerating. It blocks weird fridge odors and locks in moisture. Nobody wants cake that tastes like leftover garlic.
Pull the cake out 30 to 60 minutes before serving. Room temperature restores the texture and flavor you want to taste. The wait improves the final result.

Place your freshly baked Bundt cake inside, set the cover on top, and twist to lock the cake safely inside

FOOD-GRADE MATERIAL: We put your health first, and made this cake carrier with food-grade PP material, ensuring you and your food stay healthy, fresh and safe for all your friends and family!

✅ FITS ANY 9 INCH CAKE: Fits 10 inch x 4 1/2 inch cake. Total size is 11.5 inches in diameter and 6 inches tall
Store Cake at Room Temperature: The 24-Hour Window
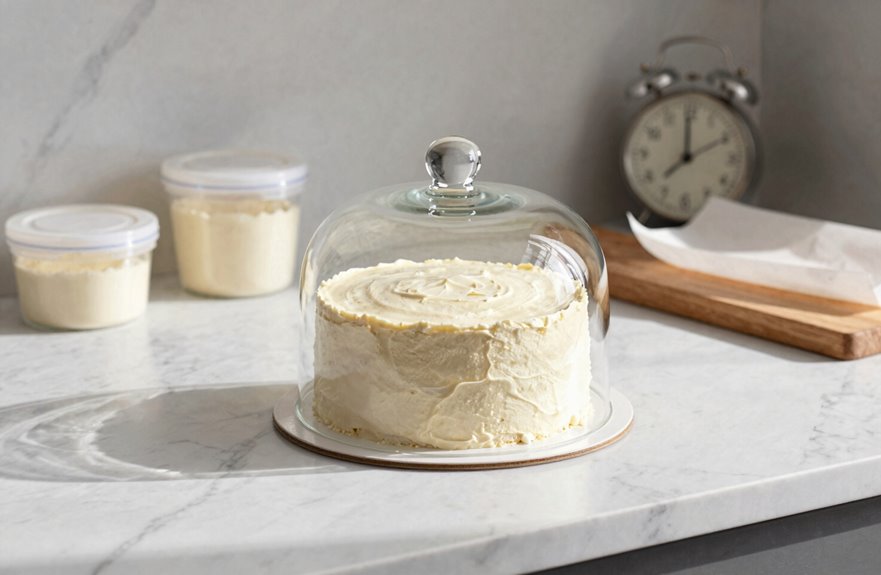
I’ve found that rushing a warm cake into storage is a rookie mistake that traps steam and turns your crumb gummy, so I always let layers cool completely on a wire rack for about two to three hours first. Once they’re room temperature, I wrap each layer individually with plastic wrap, pressing it directly against every exposed surface to lock in moisture and keep that tender crumb from drying out. This two-step process, cooling thoroughly and wrapping tightly, directly extends your 24-hour storage window; skipping either part reduces the time your cake stays fresh.

Various Sizes for Your Needs: The cake dome covers come in 4 sizes,about 6", 8", 10", and 12" in diameter, with corresponding heights of about 2.5", 3.5", 4.5", and 4.7". Whether you need to hold small cupcakes or display various desserts, you'll find the perfect fit to make your creation the visual focus. Note: This set only includes domes, no bases

Versatile and Elegant Display: the cake dome allows you to beautifully showcase and protect your cakes, desserts, and cheeses; It adds a touch of sophistication to any occasion, whether it's a wedding, birthday party, or afternoon tea gathering

【 Complete Cake Display Set 】 This 5-piece combo pack includes five 10" black trays, five clear high dome lids, and five 10" corrugated white cake boards, providing everything you need to elegantly showcase your delicious cakes.
Quick Cooling Essential
The first day after baking is when your cake sits at its prime. I’m going to show you exactly how to make that 24-hour window count.
Quick cooling sets you up for success. I let my layers cool completely on wire racks, usually 2-3 hours. Warm cake traps steam; wrap it too soon and you’ll lose moisture retention to condensation. Patience is essential here.
Once cooled, I wrap each layer snugly in plastic before leaving them at room temperature. This blocks air that steals freshness. Your frosted cake needs a cake dome or overturned bowl, since dust and fridge odors are real threats.
Skip this step with perishable toppings like cream cheese or fresh fruit; those get 2 hours max. Beyond 24 hours, I move to refrigeration or freezing. This prevents spoilage and maintains cake quality.
Tight Wrapping Technique
Once my layers hit that perfect cool-to-the-touch sweet spot, I’m ready to lock in freshness. I grab my plastic wrapper and work fast. Air is the enemy here. I wrap each layer twice, creating an airtight seal that locks moisture inside where it belongs. No gaps, no loose ends.
This 24-hour window works beautifully for unfrosted cakes or sturdy buttercream numbers. Skip refrigeration unless you’ve got perishable frosting; room temperature keeps that crumb tender. For cut cakes, I press wrap directly against the exposed surface, then wrap the whole thing again.
After storage, I’ll frost or re-wrap before serving. This simple habit prevents cakes from drying out and maintains the quality you’d expect from a professional bakery.
Freeze Cake Layers for Month-Ahead Prep

Because I love baking but hate last-minute stress, I’ve started freezing cake layers weeks in advance. This method works because freezing halts starch retrogradation and locks in moisture, so your layers stay tender for one to three months.
Here’s how I do it. First, I cool layers completely. Warm cake creates condensation, and soggy sponge defeats the purpose. Then I wrap each layer tightly in plastic wrap, followed by foil. Double-wrap prevents freezer burn, that icy deterioration that damages texture. I slide unfrosted layers into freezer bags or sandwich them between cardboard sheets before stacking. Crushed corners compromise the final appearance.
When it’s showtime, I thaw slowly at room temperature or in the fridge, still wrapped. Patience prevents moisture loss and condensation issues. I always label with the date because tracking what you’ve frozen ensures you use layers at their peak quality.

PRESS'N SEAL PLASTIC FOOD WRAP: With a quick press and glide, this food wrap keeps food fresh with a leak proof, air tight seal making it the ultimate storage solution; packaging may vary

Plastic Food Wrap: Add our plastic food wrap to your household items to extend food freshness with a tight seal

SHIPMENT CONTAINS: 3 rolls of 100 ft plastic food wrap, 33.3 yards x 12 inches each roll, totaling 300 sq ft
How Long Frozen Cake Lasts (And When Quality Drops)
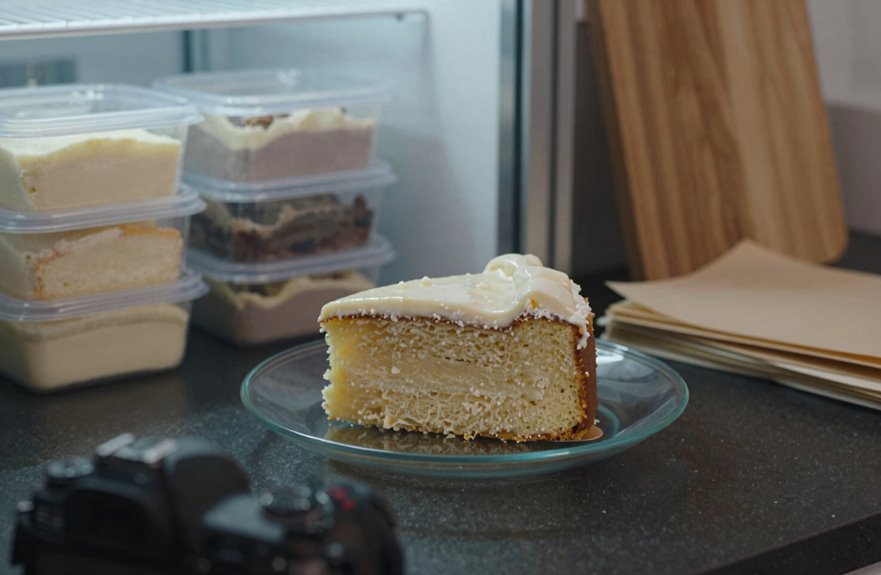
How long can you stash cake in the freezer before it becomes a science experiment? Freezer storage keeps cake tasting fresh best within three months. After that, flavors fade and textures turn mealy.
What works: airtight wrap is your armor against freezer burn. Double-wrap layers in plastic, then foil, then slide them into freezer bags. Unfrosted cakes freeze cleanest, but buttercream holds up fine too if you’re thorough.
Thaw slowly, overnight in the fridge, still wrapped. Patience pays off. Your cake stays moist instead of turning soggy from rushing.
Keep it away from heat and sunlight after thawing. Proper wrapping and timing separate celebration-worthy slices from freezer-burned disappointments.

Eight 14 oz cans of Duncan Hines Whipped Cream Cheese Frosting

One 16 oz can of Duncan Hines Creamy Cream Cheese Frosting

The information below is per-pack only
Thaw Frozen Cake Without the Soggy Mess

I learned the hard way that rushing a frozen cake to room temperature turns your masterpiece into a sad, spongy mess. Condensation becomes your enemy when warm air hits cold surfaces. Now I thaw frozen cake slowly, letting it rest in the refrigerator overnight while still wrapped. This patience pays off.
Keep the cake wrapped tightly during thawing so condensation collects on the wrap, not your cake. I use airtight storage or the original box to lock in moisture and flavor. After thawing, I let it sit at room temperature for 30–60 minutes without direct heat or sunlight. Wait to frost until fully thawed; frost on the surface means moisture trouble. This method eliminates soggy disappointments.

HIGH QUALITY & DURABLE: Holiday Season is here! Bring home this beautiful Cake Server is designed to store and serve!.This cake server accommodates up to 13 inch round cake

Personalized service: create a one-of-a-kind birthday cake with your provided images

Elegant Marble Display: Specifically designed for professional bakers and home enthusiasts alike. This 2-pack of 10-inch cake boards features a sophisticated marble pattern that provides a stunning, high-end backdrop for your cakes, ensuring your creations stand out at any event.
Frost Cold Cake Layers: No Crumbs, No Tears
I’ve learned the hard way that cold cake layers are a decorator’s best friend. When you chill them down to around 40°F, the butter firms up and the crumb tightens, which means significantly fewer crumby tears in your buttercream. That chill time, ideally two to four hours or overnight if you’re planning ahead, also locks in moisture so your layers don’t dry out while they’re waiting their turn. Before stacking, always unwrap them cold and work quickly with a serrated knife if you need to level, because that firm texture gives you clean edges and more control than room-temperature softness.

✅EASILY FITS ANY 9 INCH CAKE: Total size is 11.5 inch diameter 6 inch high. White stand has 11 inch diameter. Big enough to fit most 10 in cakes

Durable Rectangular Design: Perfect for storing and serving cakes, this sturdy container keeps your treats fresh and secure

The Staple of Your Kitchen: Whether you want to take your lunch to-go, organize for meal-prep, or send some delicious cookies to your loved ones while making sure the food remains fresh along the way, these plastic storage containers are what you need!
Cold Layers Advantage
Why does that first swipe of frosting always seem to pick up more crumbs than it deposits? I’ve been there, staring at a speckled mess where smooth buttercream should live. The fix is simpler than you’d think: chilling layers transforms everything.
Here’s what refrigeration actually does for your cake:
- Chilling layers firms the crumb structure so it resists damage
- Crumb transfer drops dramatically when you’re frosting cold surfaces
- Firm layers let you smooth buttercream like a pro
- Stacking stability improves because cold cake doesn’t squish or slide
I always refrigerate my layers for at least 30 minutes before assembly. The cold tightens the crumb, seals in moisture, and gives me the handling time I need. No more torn edges. No more cake confetti in my frosting. The result is clean, beautiful cakes with professional-looking finishes.
Assembly Prep Benefits
When’s the last time you tried frosting a room-temperature cake and ended up with more crumbs than coverage. I’ve been there, and it’s frustrating. That’s why chilling your layers transforms everything.
| Task | Room-Temp Layers | Cold Layers |
|---|---|---|
| Crumb control | Crumb chaos everywhere | Minimal fallout, clean finish |
| Leveling accuracy | Wobbly, uneven cuts | Precise, uniform slices |
| Frosting application | Tearing and frustration | Smooth, professional results |
Cold layers firm up beautifully. I bake mine a day ahead, wrap them tight, and refrigerate overnight. This assembly prep makes leveling significantly easier because your knife glides through without squishing. When frosting time comes, those chilled surfaces welcome buttercream instead of fighting it. You’ll get clean edges without tears or crumbs.
Store Cut Cake: Seal the Crumb, Keep the Moisture
So what’s the real trick to keeping that leftover cake from turning into a sad, dried-out sponge? It’s all about sealing that exposed crumb immediately. Here’s my battle-tested approach:
- Press plastic wrap directly against the cut surface with no gaps to lock in moisture where it matters most
- Wrap the whole cake again for an airtight barrier against fridge odors and dust
- Keep it at room temperature for just 2–3 days if you’re devouring it quickly
- Pop it into refrigeration for longer stretches, staying vigilant about that tight wrap
Freezer storage works well. Double-wrap those slices and stash them in freezer-safe containers for three months of storage. Your future self will appreciate having frozen cake available when that craving hits at midnight.

Size: 11*11*5.9 inches(includes handle), handle height: 1.57 inches

Long Time Use - This cake dome cover is crafted from acrylic, the cake cover dome boasts durability and sturdiness, lightweight.

Long Time Use - This cake dome cover is crafted from acrylic, the cake cover dome boasts durability and sturdiness, lightweight.
Tiered and Fondant Cakes: Fridge or Room Temp?
How exactly do you store a towering, fondant-draped creation without wrecking all that careful work? Fondant and refrigeration have a complicated relationship. If you must chill your cake, wrap it tightly first. Condensation is the enemy; it will turn your smooth fondant into a sticky mess.
Refrigerate tiers separately when possible. Full assembly in the fridge risks damage. Brief chilling firms the frosting, making handling easier, then wrap for longer storage. Room temperature works well for short-term fondant storage. Just keep it away from heat and direct sun to prevent sagging or sweating.
Thawing frozen tiers requires slow warming. Let them warm in the fridge or at room temperature while still wrapped. This gradual process preserves the finished appearance of the cake.

Saran original is so durable that it withstands both hot and cold temperatures - from freezer to microwave

CLING WRAP WITH SLIDE CUTTER-Contains one roll of Reynolds Quick Cut Plastic Wrap with slide cutter, measuring 225 feet long by 12 inches wide (225 square feet)

We have a vast Variety of Wrap in the market.For Width we have 12",16", 18" 24".For Length we have small roll and big roll like from 2000 feet to 5000 feet or over we have also variety specially used for meat film or mushoroom film.We have different variety For hand wrapper also for machine overwrap.
Store Cake for Transport: Travel-Ready Wrapping
Moving your cake from kitchen to venue requires careful planning to prevent damage to your creation.
Chill your cake first. Cold frosting hardens and prevents shifts that ruin delicate work. For storage during transport, wrap the box in plastic to lock in cool temperature and protect from sudden heat spikes.
Cold frosting is your armor—chill first, wrap tight, and sudden heat won’t stand a chance against your careful work.
Your travel-ready checklist:
- Place the box flat on your car floor behind the front seat to prevent tipping and sliding
- Use a thermometer-equipped cooler or blast AC to maintain safe temperature
- Park in shade and keep boxes away from heated armrests or vents
- Transport multi-tier cakes in pieces, assembling on-site for flawless presentation
Your cake arrives in the condition you want it because you’ve prepared properly.

CREAM CHEESE FLAVORED FROSTING: A delicious artificially flavored cream cheese frosting; Goes great with baked goods such as cakes, cupcakes, and cookies

GLUTEN FREE FROSTING: Bake a delicious dessert and top with this cream cheese frosting that will make your favorite cupcake or cake even sweeter

Contains: 1 Container of Organic Frosting
Match Storage to Your Frosting Type
I let frosting type call the shots on storage because it spoils faster than the cake itself. Perishable fillings like cream cheese, custard, or whipped cream demand immediate refrigeration and should stay chilled until serving, while buttercream and ganache offer more flexibility. I’ll pop them in the fridge briefly to firm up, then wrap them well for longer keeping. Understanding this distinction prevents soggy fondant and food safety issues.

🍫 DOUBLE THE CHOCOLATE — COCOA BATTER + REAL CHOCOLATE CHIPS — This isn't just a chocolate-flavored muffin. Each 3.6 oz muffin is built on a rich cocoa-infused base and loaded with real semi-sweet chocolate chips throughout — two full layers of chocolate in every bite. For serious chocolate lovers only.

TRADITIONAL SEVEN LAYER CAKE! This scrumptious 7 layer cake has the perfect ratio of heavenly vanilla pound cake to delicious chocolate buttercream frosting. It is layered up in seven layers and it is coated in a rich chocolate icing. Each bite is oozing newfound goodness!

The Wrap comes in 3 sizes, PLEASE MEASURE your pan across the outside bottom middle of springform pan. The Wrap does not need to be snug to be effective.
Perishable Frosting Storage
Cream cheese frosting requires special handling because dairy products spoil quickly. Proper storage keeps your cakes safe and delicious.
When handling perishable frosting, follow these essentials:
- Refrigerate immediately; store at room temperature for a maximum of 24 hours, then keep chilled between uses
- Cool cream cheese frosting and whipped cream frosting before serving to prevent spoilage
- Briefly chill to firm the surface, then wrap your cake to lock out moisture and fridge odors
- Minimize time in the 40°F-140°F danger zone for food safety
Refrigeration is not optional. Whipped cream weeps and cream cheese sours without proper storage. Wrapping and chilling promptly prevents bacterial growth and keeps frosted cakes safe and visually appealing.
Non-Perishable Frosting Storage
Not all frostings demand the fridge. Non-perishable frosting like stable buttercream or ganache actually prefers room temperature for short stretches when kept cool, covered, and away from perishable fillings.
Fondant requires special handling. Refrigerate it only with airtight wrapping, then wait before unwrapping so condensation doesn’t ruin that smooth surface. Sticky fondant compromises the final appearance.
For longer storage, freezing cake surpasses extended refrigeration. Chill buttercream or ganache briefly first to harden it, then wrap tight. Freezing locks in moisture far more effectively than refrigeration alone.
Always protect cake from air and heat using boxes, domes, or covers. Dry cake will crumble and fail to deliver the quality your celebration deserves. Following these refrigeration guidelines keeps your finished cake in optimal condition.
Store Cupcakes, Sheet Cakes, and Specialty Shapes
How exactly do you keep cupcakes from turning into sad, dry nubs before the party even starts? Rushing storage ruins everything. Let me walk you through what actually works.
- Wrap cupcakes individually or stash them in an airtight container to lock in moisture
- Refrigerate sheet cakes in their boxes, then add a protective wrap layer against air exposure
- Freeze sliced portions with double-wrap protection and date labels for maximum storage time
- Thaw specialty shapes slowly while wrapped to preserve their structure and prevent condensation damage
Cool everything completely first. Warmth creates trapped moisture and soggy bottoms. For short-term needs, refrigerate up to 24 hours. For longer storage, freeze for one to three months. Your creations will maintain quality when stored properly.
Cake Shelf Life: Room Temp vs. Fridge vs. Freezer
I’ve learned that where you stash your cake matters just as much as how you wrap it. Room temperature works beautifully for most cakes, but only for about a day before things get sketchy, especially if you’ve got perishable fillings hanging out in the danger zone. The fridge buys you extra time with cream cheese or fresh fruit, though it can dry out your crumb faster than you’d like. The freezer offers the longest storage option, since a well-wrapped cake keeps perfectly for months rather than mere hours.
Room Temperature Limits
Where exactly do we draw the line between “just fine on the counter” and “get that cake in the fridge”?
Storage at room temperature has strict time limits. Unfrosted cakes stay fresh about 24 hours when wrapped tight. Once you add frosting, you’ve got 2–3 days max, assuming no perishable fillings are hiding inside.
What separates safe from sorry:
- Unfrosted cakes: 24 hours, wrapped well
- Frosted cakes: 2–3 days, covered
- The “danger zone” (40°F–140°F): 2 hours maximum exposure
- Above 90°F: cut that to 1 hour
Cream cheese, whipped cream, custard, Bavarian cream, and fresh fruit demand immediate refrigeration. After two to three days at room temperature, even “safe” cakes suffer texture changes. Check for signs of spoilage by smell and appearance before consuming.
Refrigeration Drawbacks
So why do I hesitate before opening that fridge door? Refrigeration isn’t always beneficial for cake storage.
Cold air accelerates starch retrogradation, the process where your cake turns stale faster. The fridge pulls moisture from your crumb, leaving you with something closer to dry bread than celebration dessert. Without tight wrapping, your vanilla sponge might also absorb odors and taste like last night’s garlic chicken.
Perishable toppings like cream cheese frosting or fresh fruit require refrigeration, but this storage method demands vigilance. You’ve got roughly 24 hours before quality declines significantly. Wrap that cake carefully, as moisture loss happens fast and significantly impacts the final product.
Freezer Advantages
The freezer is where my cakes find their second wind. I’ve learned that freezer storage isn’t just about stashing leftovers. It’s about locking in moisture preservation for months, not days.
What works:
- Double-wrap everything: plastic first, then foil, then into a freezer bag. Airtight wrapping blocks freezer burn completely.
- Mark your calendar: three months max for peak flavor, though buttercream layers hang on beautifully.
- Protect your layers: slip cardboard between stacked cakes so they don’t squish each other.
- Thaw with patience: overnight in the fridge (still wrapped) or a few hours at room temperature keeps condensation off your crumb.
Master thawing, and you’ll preserve long-term cake quality that tastes bakery-fresh.
Why Your Cake Dried Out (And How to Fix It)
Why does that gorgeous cake you baked yesterday feel like a kitchen sponge left out overnight. Air exposure is your enemy; wrap those exposed edges immediately after cutting. When my chocolate layer turned stale overnight sitting uncovered, I learned this lesson directly.
Refrigeration seems smart, but cold dry environments accelerate staling through starch retrogradation. Unless your frosting demands it, keep cake at room temperature instead. When you need longer storage, freeze properly wrapped layers. They maintain quality for 3–4 months. After thawing, cover the cake to prevent condensation from stealing more moisture.
| Storage Method | Risk Level | My Fix |
|---|---|---|
| Uncut at room temp | Low | Cover loosely |
| Cut, unwrapped | High | Wrap cut edges |
| Refrigerated | Moderate | Minimize time |
| Frozen properly | Lowest | Double-wrap, date it |
Proper storage prevents unnecessary moisture loss and extends your cake’s shelf life significantly.
Your Storage Decision: Timeline + Frosting Type
- Room temperature works for 24 hours with non-perishable cakes, or 2–3 days with buttercream. Keep it cool and shaded.
- Refrigeration buys you another day, but wrap tight to block fridge odors and moisture loss.
- Freezing preserves cakes up to four months when wrapped well, maintaining fresh-baked quality.
- Perishable toppings like cream cheese or custard require refrigeration, significantly shortening your safe storage window.
Cool layers completely before wrapping. For decorated cakes, a quick chill firms everything up first. Follow the timeline, protect your work, and avoid waste.