I’ve cracked hundreds of cake pops in my kitchen, and every single fissure traced back to one culprit: temperature shock. When your cold cake pop hits coating that’s too warm, the shell hardens instantly while the interior keeps expanding. The result is cracking.
The fix is simple: chill your pops for 15–20 minutes in the fridge (not the freezer), then melt your coating in short bursts until it flows like pancake batter. Following these steps will prevent cracks and deliver a smooth, professional finish.
I’ll walk you through exactly how to nail each step.
Why Cake Pops Crack: The Temperature Shock Problem
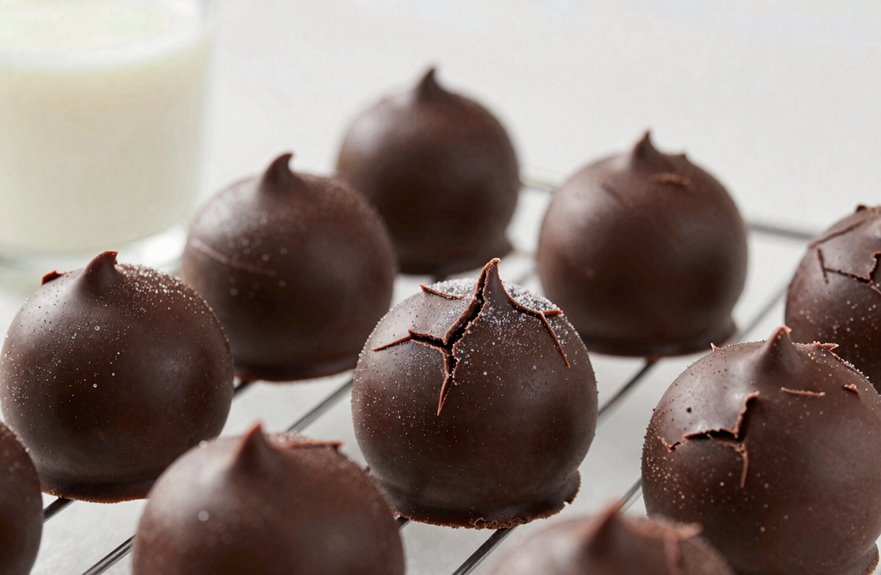
Why do my cake pops look like they’ve survived a tiny earthquake? I’ve been there with those frustrating cracks spiderwebbing across once-perfect treats. The culprit is temperature shock, and understanding it solved the problem.
Here’s what happens: cake pops that are too cold meet coating that is too hot. When they make contact, the shell hardens instantly while the warm interior keeps expanding. Cracks form as a result. I’ve learned to monitor coating temperature carefully by heating candy melts at 50% power in short bursts or using a double boiler for steady, even warmth. If coating feels steaming hot, I let it cool a few minutes before dipping. I’ve also stopped aiming for freezer-cold cake pops. The smaller the temperature gap, the smoother the results.

ACCURATE FAST READINGS (No More Burned Candy) --- Our candy deep fry thermometer provides instant and accurate temperature readings within seconds. Its advanced technology ensures precise measurements, allowing you to monitor the temperature of your food with confidence.
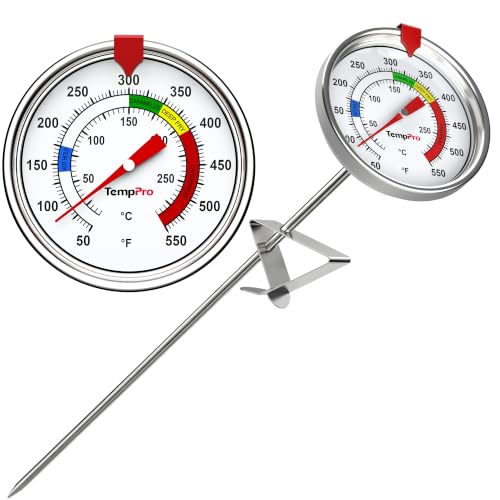
【9" Long Probe with Pot Clip】The frying thermometer for oil comes with a 9-inch probe and a secure pot clip, allowing it to be safely attached to cooking pots of different sizes, effectively protecting you from hot oil splatter

EASY TO READ: It is easy to read the temperatures with the bright blue food-safe spirit.
How Long to Chill Cake Pops Before Dipping (15–20 Minutes)

Getting the chill time right is critical. I refrigerate cake pops for 15–20 minutes. That’s the optimal duration. They firm up enough to hold their shape without freezing solid.
When rushing, I use the freezer but never exceed 10 minutes. You need the exterior firm for dipping temperature control while the interior stays slightly warm. If cake pops get too cold, they’ll crack when they hit warm candy melts. The outside sets fast while the inside stays soft, creating a structural failure.
I remove mine promptly and start dipping immediately. That firm-but-not-frozen state prevents temperature shock and produces smooth, crack-free results consistently.
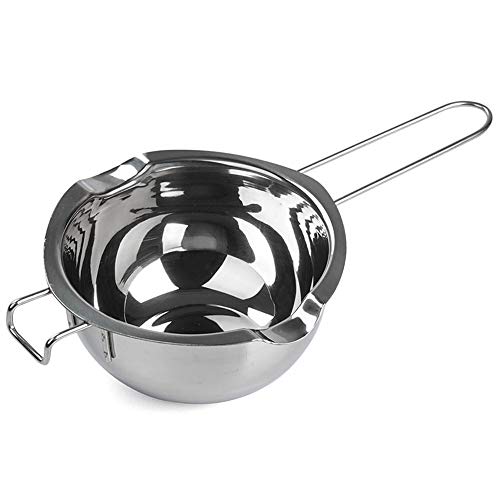
【Superior Material 】- Made of 18/8 Stainless steel, Rust Resistant, Sturdy,and proper temperature to melt things but not to destroy the nutrition, and prevent burnt.

【1250ML/1.1QT Chocolate Melting Pot】-This Mixing Bowl is Made of 304(18/8) stainless steel, not easy to get rusty; Perfect for Melt Choclate, Melt Butter, also convenient for making a quick salad, preparing food, mixing batters, or storing and serving food.

【 Great Quality & Perfect Size】The double boiler is made of high quality 18/8 stainless steel, rust resistant. Dishwasher safe and easy to store.
How to Melt Coating to Pancake-Batter Consistency

Hitting the right coating consistency can make or break your cake pops. The microwave method works best at half power in quick bursts, while a double boiler requires patient stirring. Both approaches aim for the same result: smooth, pourable coating that clings without clumping. Test your work by dipping a sample and observing how the coating flows and sets, eliminating guesswork from the process.

Set Includes: The set contains 3 colors of silicone bowls, grey, white and green; Mixing bowls mouth diameter 4.1 inch, the lower bowl bottom 1.7 inch, height 2.7 inch; Capacity: 0.27 QT; The scale shown inside is for viewing only

Melting cups, you not only can use the as a melt warmer to heat chocolate, candy, butter but also could use as a microwavable melting bowls container to store butter, oil. A must bakeware set for your kitchen.

Microwave-Safe Flexible Silicone – Perfect for Melting & Heating: Crafted from high-heat resistant, BPA-free silicone, these measuring cups are safe to use in the microwave, making them ideal for melting butter, chocolate, coconut oil, and more directly in the cup — no need to transfer or dirty extra dishes.
Optimal Microwave Technique
Whenever I’m staring down a bag of candy coating wafers, I reach for my microwave first. It’s fast, it’s fuss-free, and when you know the rhythm, it yields that dreamy pancake-batter consistency every time.
My go-to microwave technique involves blasting candy melts in 15-to-20-second bursts, stirring between each round. Patience is everything here. Rush it, and you’ll scorch the coating consistency into a thick, unusable mess.
If my mixture starts resembling frosting instead of batter, I thin it carefully with just a teaspoon of oil or Crisco at a time. Stir gently; aggressive mixing traps air bubbles. Test by coating a spoon. When it flows off smooth and even, you’ve achieved that perfect pancake-batter texture.
Double Boiler Method
Of all the methods I’ve tried, the double boiler remains my failsafe when I need absolute control over my coating’s temperature. Rushing leads to disaster, as cracking happens quickly.
I fill the bottom pot with an inch of simmering water, keeping heat low. The top pot holds my coating. I stir constantly, moving in smooth circles to eliminate hot spots. No lumps, no scorching, just steady progress toward that pancake-batter consistency. The steam provides the gentle, even heating that microwaves cannot match.
If I’ve started in the microwave and things go wrong, I switch immediately. The double boiler rescues overheated coating every time. When it coats a spoon in a thin, smooth layer without clumps or drips, I’m ready to use it.
Texture Testing Tips
How do I know when my coating’s ready? I use texture testing to find that sweet spot: pancake-batter consistency, not too thick, not runny. I melt slowly with 15–20 second bursts, stirring constantly. No rushing. Hot spots ruin everything.
I check coating consistency by lifting my spoon. It should glide off in ribbons, not plop. I watch for air bubbles; too many means I overheated. I add thinning agents sparingly, just a touch of oil or Crisco. Stir, test, repeat.
If lumps persist, I reclaim those chunks with gentle heat. Still thick? I switch to CandiQuik. Some brands simply behave better.
The goal is smooth, pourable, forgiving coating. When my spoon moves freely and the surface looks glassy, I’m ready to dip.
The Dipping Technique That Prevents Cracked Shells
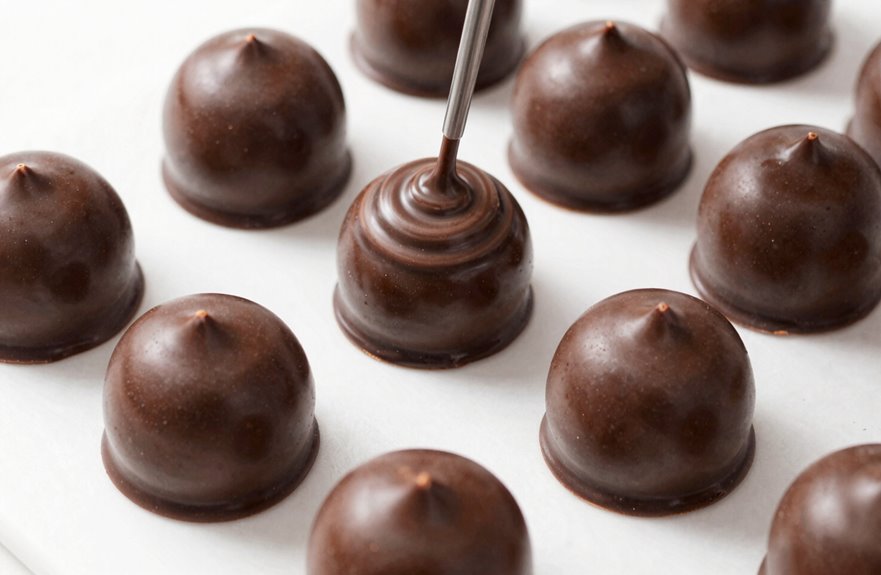
Why do my cake pops keep splitting open like tiny, overfilled balloons? The dipping technique matters more than most people realize.
Here’s what I’ve learned about avoiding cracks in your chocolate coating:
- A pop that’s too cold hitting warm melts creates a shell shock. The outside hardens fast while the inside stays cozy, and something’s gotta give.
- Tepid coating pulls away gently, letting the shell settle slowly without fighting the cake.
- Patience beats panic every single time.
I chill mine 15–20 minutes in the fridge, firm enough to hold and warm enough to cooperate. I melt slowly, too: double boiler or 15-second microwave bursts, stirring smooth. No hot spots, no thermal drama. Getting this rhythm down means fewer casualties and more pops you’ll actually want to share.

25 WATTAGE HEATING ELEMENT: This 25 watts hotplate chocolate melting set is equipped with a high powered heating element with 109 °F warming temperature and 140 °F melting temperature that melts chocolate quickly and easily.

Effortless Candy Melting: The Wilton Candy Melting Pot melts cheese and chocolate into the perfect consistency for dipping and decorating strawberries, pretzels, cake pops, and more

[EFFORTLESS CREATIONS]: Craft decadent treats like chocolate-dipped pretzels, cake pops, and fresh strawberries with this versatile Party Desserts Melting Pot. Featuring a precision-pour spout and ergonomic, heat-resistant grip, it enables seamless drizzling directly onto goodies or into pastry bags for professional-grade decorating.
How to Patch Cracked Cake Pops With Decorations
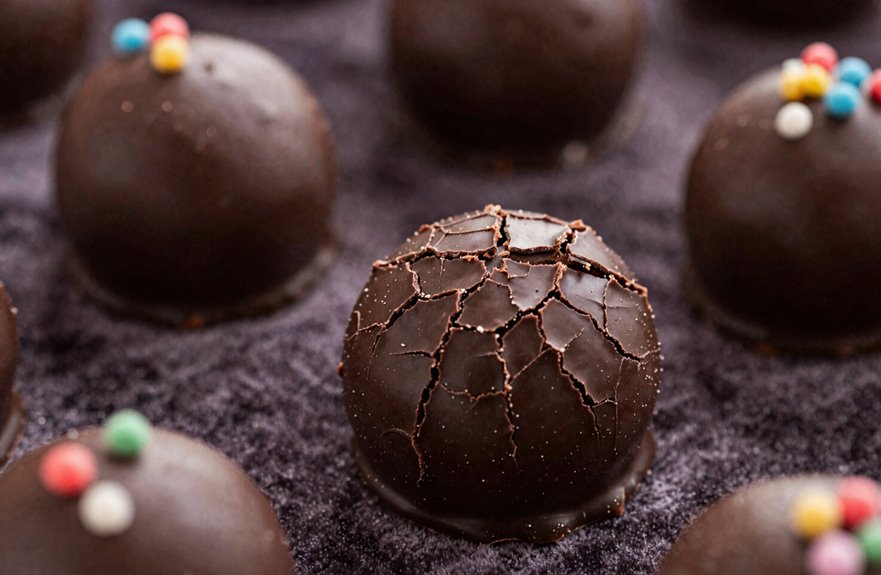
Even with the perfect dipping technique, some pops still crack. I’ve learned to embrace these moments as creative opportunities rather than failures. When I spot a crack, I grab a toothpick and dab on a bit of melted coating, working quickly before it sets. Timing matters here; too dry and the decorations won’t stick, too wet and everything slides off.
I roll the patched area in sprinkles or add a strategic drizzle. Metallic edible paints and sprinkle mixes become effective camouflage, transforming flaws into intentional design elements. A light coating drizzle over repairs unifies the look.
Those patched spots often become the most interesting details, adding texture and character that mass-produced pops lack. Imperfections create distinctive visual appeal rather than detracting from the final product.

1.This listing includes 2 pieces of spoon silicone candy molds.Overall dimension: 8.3 x 4.21 x 0.59 inches and 5.5 x 3.7 x 0.39 inches; Single cavity inner size: 3.74 x 0.91 inches and 3.26 x 0.75 inches .

Serve warm drinks with a dessert spoon made out of Candy Melts candy

✅The chocolate molds are made of food-grade silicone material, non-toxic and odor-free, allow the food easily be demolded with simple twist and slight push and durable in use, can use with confidence.
Why Freezing Cake Pops Causes More Cracks
When I first started making cake pops, I thought freezing them longer would guarantee perfect results. That approach backfired.
Freezing cake pops creates a harsh temperature shock when they hit warm chocolate. The interior stays rock-hard while the exterior sets fast, forcing the shell to crack under pressure. Timing matters significantly.
- Your pop emerges solid as ice, unyielding beneath molten coating
- The chocolate seizes instantly, trapping stress in fragile walls
- Cracks spider across the surface as the pressure releases
Stick to 15–20 minutes in the fridge, or 10 minutes max if you’re rushing with the freezer. That temperature gap shrinks, the shell cracking fades, and you get the smooth finish you’re aiming for.

Adjustable temperature settings and temperature display: You can melt chocolate quickly and evenly within 15 minutes and keep it warm, while the adjustable temperature can better adapt to the melting needs of different candies

【High Accuracy & Fast Reading】Digital candy thermometer get precise temperature readings in just 1 second with accuracy ±0.9°F, making it a smart choice for candy making and deep frying

ADJUSTABLE PAN CLIP FOR ANY SIZE POT: The built-in clip secures to pots and pans of all sizes, keeping the thermometer stable and hands-free so you can monitor candy stages or frying oil without constant attention.