I make gluten-free cheesecake by pressing 1½ cups graham crumbs, or nut or cookie alternatives, with butter into a pan and prebaking for 8–10 minutes.
I beat room-temperature cream cheese, sugar, and cornstarch until smooth, then add eggs slowly.
A water bath and 325°F oven provide even heat; I pull it when the center still jiggles.
The key to success is cooling slowly: crack the oven door for an hour, allow ambient cooling, then refrigerate for four hours.
Each step requires careful attention to technique.
Pick Your Gluten-Free Cheesecake Crust: Graham, Nut, or Cookie Base
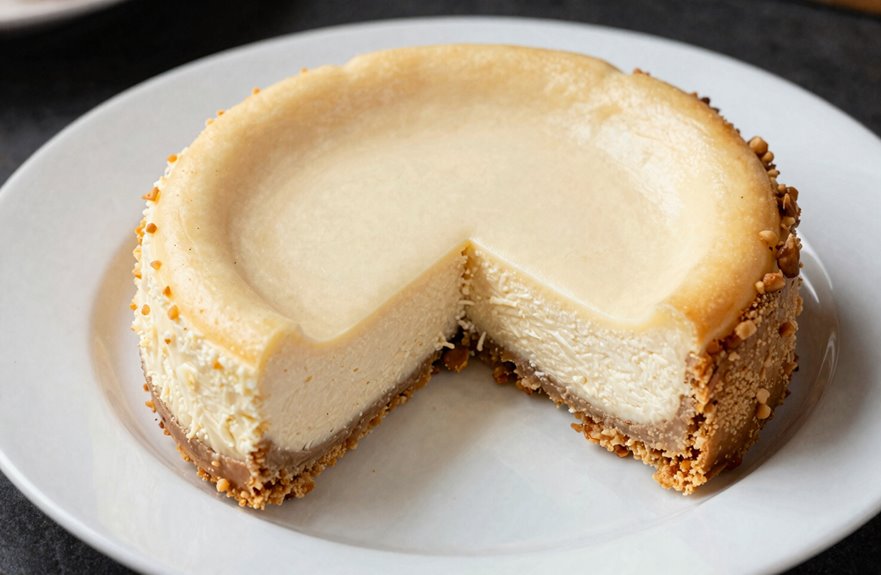
Why settle for a single crust option when you can master three? I’m walking you through my favorite gluten-free crust variations so you’ll have reliable options for any cheesecake.
Master three gluten-free crust variations for reliable options with any cheesecake.
My go-to graham cracker crust combines 1½ cups gluten-free crumbs with 5–6 tablespoons melted butter and 2 tablespoons sugar. I press this firmly into my 9-inch springform pan, then prebake for 8–10 minutes. This sets the structure so it won’t crumble later.
For a nut crust, I swap in finely chopped nuts with brown sugar and butter. This easy press-in crust offers earthy depth.
Cookie crust uses the cream filling from gluten-free sandwich cookies with slightly reduced butter. They hold together beautifully.
Each prebakes quickly. All three crusts prevent sogginess and provide structural support for your filling.

This 9 inch springform pan accommodates standard size recipes
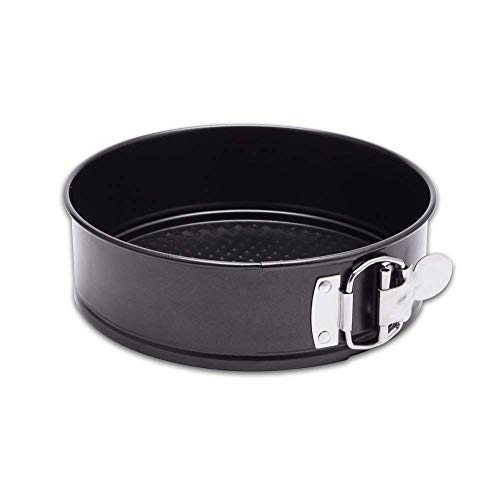
PREMIUM 10" SPRINGFORM PAN is just what you need for easy, expert baking. Here at Hiware we've been making cookware for professional chefs for many years. Now we bring our non-stick springform cake pan to you. With true non-stick surface and flawless operation, this pan will make your life in the kitchen so much easier.

SPRINGFORM BAKING PAN: 10 in. springform pan for cheesecakes, pies, and more
Beat Gluten-Free Cheesecake Filling Smooth Without Lumps
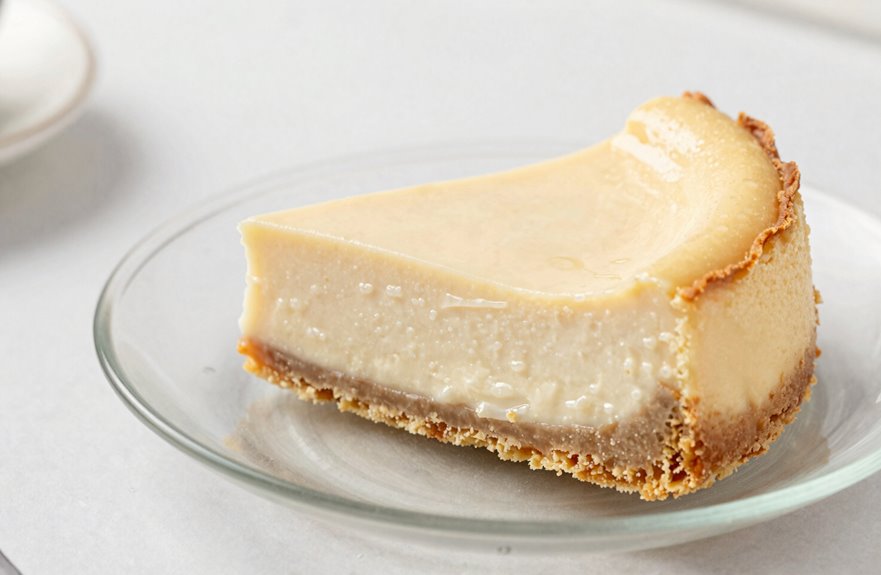
How do you banish those stubborn little lumps that ruin an otherwise perfect cheesecake? The secret starts with patience and proper prep: getting your cream cheese to room temperature before you even think about mixing.
My method: Beat room temperature cream cheese, sugar, and cornstarch on low speed until smooth. Scrape the bowl constantly, as those side pockets hide stubborn chunks. Beat until smooth. No rushing.
Add eggs spoonful-by-spoon on low speed, blending briefly after each. Overmixing invites air bubbles; the goal is lumps-free density, not foam. Finally, gently fold in sour cream, vanilla extract, and a squeeze of lemon. Stop when just combined. The result is silky, uniform filling ready for baking.
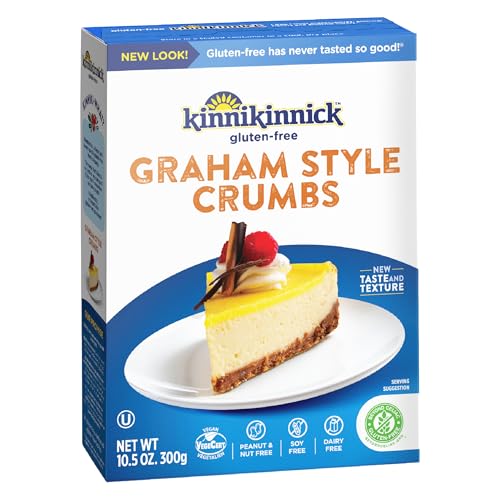
GLUTEN FREE GRAHAM STYLE CRUMBS: So good, you won't even know these graham crumbs are not only gluten-free but free from top allergens and vegan too! Keep a box in your pantry for all recipes that call for a graham cracker crust or toppings. Contains one 10.5 ounce box of Gluten Free Graham Style Crumbs

Perfect for Homemade Pies: Create the ideal graham cracker pie crust for cheesecakes, pies, and more—just add butter or a substitute for a delightful base.

GLUTEN FREE GRAHAM STYLE CRUMBS: So good, you won't even know these graham crumbs are not only gluten-free but free from top allergens and vegan too! Keep a box in your pantry for all recipes that call for a graham cracker crust or toppings. Contains two 10.5 ounce boxes of Gluten Free Graham Style Crumbs
Bake Gluten-Free Cheesecake: Water Bath and Temperature Control
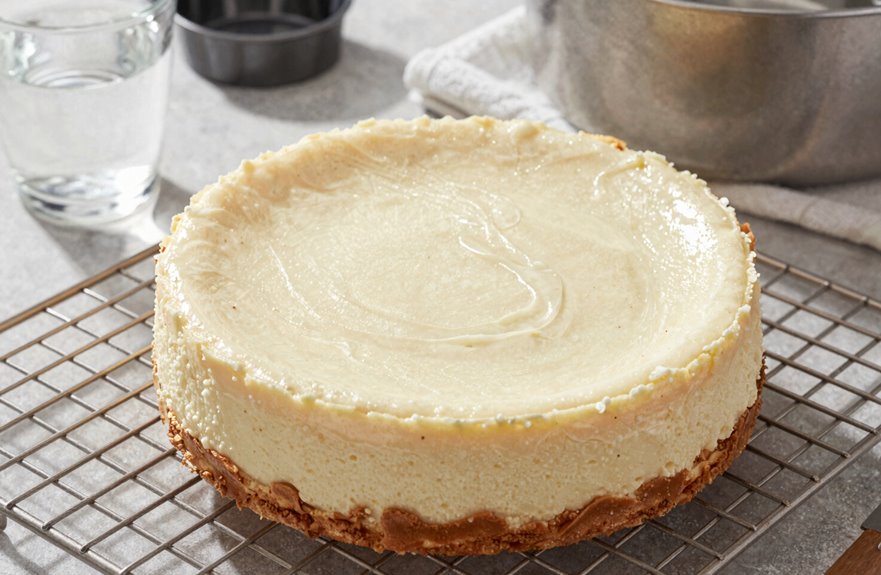
Because I’d rather not serve a cracked, sunken mess to my guests, I never skip the water bath. It’s my secret weapon for temperature control. I nestle my filled springform pan into a larger roasting pan, then pour boiling water halfway up the sides. This steamy environment helps my gluten-free cheesecake bake evenly and keeps the crust from drying out.
I watch for that perfect center jiggle: edges set, middle wobbly. That’s when to remove it. The gentle heat prevents dense, rubbery results.
I crack the oven door and let it cool gradually for an hour. This slow temperature reduction prevents cracks from thermal shock. Then it’s straight to refrigeration for at least six hours, or overnight if possible.

Indulgent Fragrance: Delight in the irresistible aroma of fresh strawberries and creamy cheesecake with this luxurious 2-in-1 body wash and bubble bath. Dual-Purpose Formula:...
Cool Slowly to Prevent Cracks: The 5-Hour Method
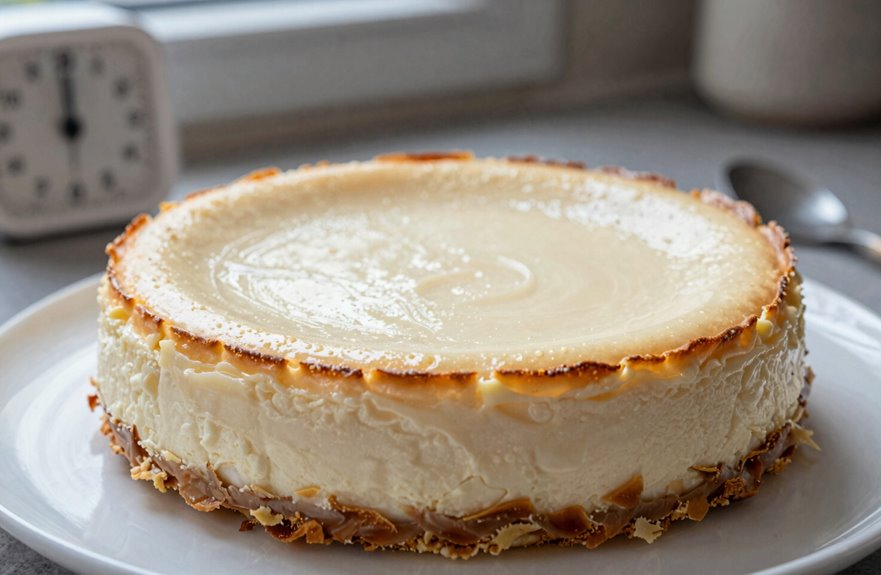
Once my cheesecake reaches that perfect jiggle point, the real patience test begins. Rushing the cooling stage guarantees those dreaded surface cracks.
The 5-hour method transforms your gluten-free cheesecake from good to flawless:
- Turn off the oven and let your cake rest inside with the door cracked for one hour. I wedge a wooden spoon in the door to keep it steady.
- Transfer to a wire rack for ambient cooling, protecting that delicate cheesecake texture from shock.
- Only then do I refrigerate, giving my creation at least four hours to set properly.
This slow cooling through the oven cooling method creates a gradual temperature change. Rapid moisture shifts cause fissures, but patient steps preserve smooth perfection. The process works.

Room Temperature Cream Cheese Or Nothing - an insider baking design and a great gift for the baker who plans ahead.

Room Temperature Cream Cheese Or Nothing - an insider baking design and a great gift for the baker who plans ahead.

Room Temperature Cream Cheese Or Nothing - an insider baking design and a great gift for the baker who plans ahead.
Top, Store, and Troubleshoot Gluten-Free Cheesecake
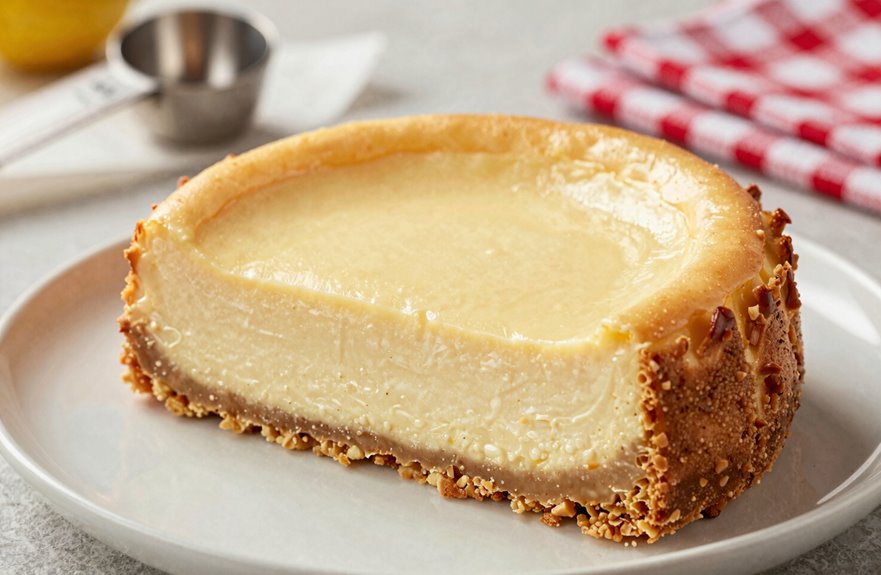
Why rush perfection now? I’ve learned that chilling transforms good gluten-free cheesecake into something unforgettable. I refrigerate mine at least six hours, overnight even better, for clean slices and flavors that fully develop together.
Storage matters significantly. I wrap leftovers tightly or nestle them in an airtight container; nobody wants their dessert tasting like last night’s garlic. Five days in the fridge works, or I freeze for two months when I’m planning ahead. Thawing happens overnight in the refrigerator; the extra time ensures proper texture.
I add toppings just before serving to protect crust integrity. Nobody deserves a soggy bottom. The berries stay bright, the jam stays vibrant, and that first bite tastes exactly as intended. You’re building something worth waiting for.


Pie crust can be a true challenge for gluten-free bakers, but our mix makes it easy to get reliable results. Our mix makes a pie crust that rolls out easily and bakes into a flaky, golden, buttery crust. It's the ideal base for quiches, tarts, and more