I chill my cake pops for 10 to 15 minutes before dipping. Any shorter and they crumble apart; any longer and they turn rock-hard and crack. This brief fridge time firms the dough just enough to survive coating without fighting me, while keeping the center warm enough to prevent thermal shock when I dip. I always let them reach room temperature first, then chill, then match my candy melts to 88–90°F before that final swirl-and-lift. This process produces glossy, professional results.
How Long to Refrigerate Cake Pops (Exact Timing)

How long should you actually chill these little guys before the big dip? Through plenty of experiments, 10 to 15 minutes hits the sweet spot for firmness. Refrigerate your cake pops too briefly, and you’ll watch them crumble mid-dip. Go overboard with cooling, though, and you’ve got rock-hard balls that crack when sticks go in, which compromises the structural integrity you need.
Timing matters significantly. Pop yours in, set a timer, then let them rest at room temperature for just a few minutes before dipping. This prevents condensation from ruining your chocolate coating. Getting this balance right transforms your coating from lumpy to luscious.

Effortless Candy Melting: The Wilton Candy Melting Pot melts cheese and chocolate into the perfect consistency for dipping and decorating strawberries, pretzels, cake pops, and more

Adjustable temperature settings and temperature display: You can melt chocolate quickly and evenly within 15 minutes and keep it warm, while the adjustable temperature can better adapt to the melting needs of different candies

PRECISE DIGITAL TEMPERATURE CONTROL FOR SMOOTH MELTING: 100W power & adjustable temperature probe maintain ideal melt consistency, avoid burnt or seized chocolate; digital real-time display lets you track heat easily, perfect for melting candy, chocolate wafers to dip strawberries, pretzels & cake pops without overheating.
Matching Cake Pop and Coating Temperatures

Because temperature mismatches ruin more cake pops than bad recipes, I’ve learned to treat this step like a science experiment with delicious stakes. I always let my pops reach room temperature before dipping. Cold centers crack the coating every time. My candy melts hit 88–90°F for that smooth shell we all crave. If I refrigerate too long, condensation wrecks everything.
| What I Feel | What Happens | What I Do |
|---|---|---|
| Panic rising | Coating seizes, turns chunky | Add Paramount Crystals, stir gently |
| Hope flickering | Temperature matching works | Test with one pop first |
| Pure joy | Glossy, even chocolate coating | Celebrate, you’ve earned it |
Brief chilling firms the dough, but patience matters. Bring them back slowly. The process works when temperature and timing align.

Includes a silicone dipping tray, coupler, microwave cap, drizzling scoop, and cake pop stand Decorate candy with 2 piping tips, 6 icing bags, 12 clear treat bags, 12 ties...
Refrigerator vs. Freezer: Which Works Better?
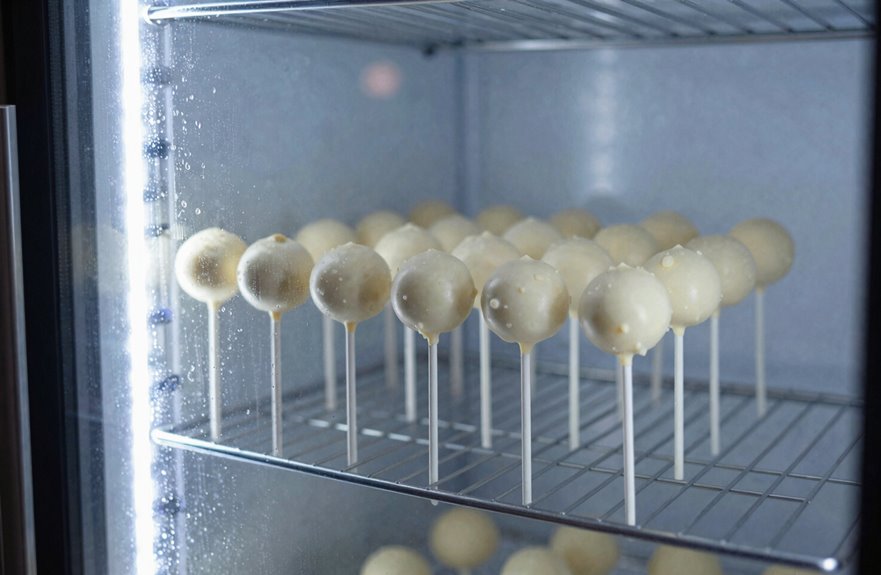
Where exactly should you stash those cake pops before dipping: the fridge or the freezer?
Refrigeration gives reliable results. A quick 10-minute chill firms cake pops just enough for dipping without complications. The gentle cold prevents cracking while maintaining control over moisture management.
Freezing presents challenges. While it boosts stability, coating can seize when pops sweat. Temperature control becomes difficult. Too cold, and coating smoothness suffers. Too warm, and condensation ruins everything.
For chilling time, the refrigerator works best. It offers predictable temperature control and steady coating drying. Freezer methods require rapid warm-up protocols that demand extra effort.
Brief fridge chilling delivers consistent results without the moisture problems that freezing introduces.

ACCURATE FAST READINGS (No More Burned Candy) --- Our candy deep fry thermometer provides instant and accurate temperature readings within seconds. Its advanced technology ensures precise measurements, allowing you to monitor the temperature of your food with confidence.

Pot Clip Design for Safer Operation: This candy thermometer digital with clip can be fixed to the pot so you can free your hands to focus on the cooking, and protect your hands from the hot

【Backlit 90° Rotating Display】The large 90-degree rotating screen enables effortless angle adjustment for optimal visibility, while the backlight ensures precise food temperature readings even in dimly lit environment
How to Dip Cake Pops After Chilling
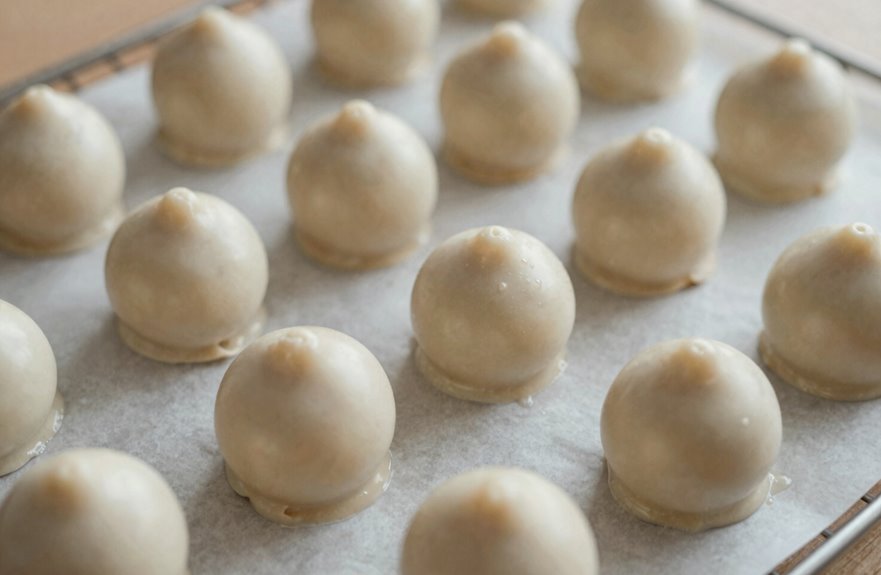
Once your cake pops have chilled just enough to hold their shape without turning into little ice bricks, you’re ready for the dipping process.
First, check the temperature of your cake pops. If they’ve been in the refrigerator too long, let them sit at room temperature for a few minutes. Cold pops plus warm coating causes cracks.
Get your candy coating to 88–99°F (31–37°C). Too hot, and you’ll compromise that smooth shell. Too cool, and the coating gets thick and lumpy.
Dip each pop straight in, swirl gently, and lift. The stability from proper chilling prevents them from falling apart. Hold them upright in a Styrofoam block until set.
Fixing Cracked or Slipped Cake Pops After Chilling
Even with careful timing, perfectly chilled cake pops develop hairline cracks or slip down their sticks. These problems are fixable.
For cracked cake pops, let them warm slightly. Too-cold dough hitting warm melt coating causes thermal shock. Check coating temperature; it should sit between 88–90°F for chocolate and 88–99°F for candy coating. Never freeze before dipping, as moisture ruins everything.
Slipped cake pops indicate skipped pre-dipped sticks. That thin candy coating layer bonds the dough to wood. Adjust chilling time to achieve refrigerator firmness without over-hardening, usually 15–20 minutes. Getting dipping temperature and dough temperature aligned prevents most problems.
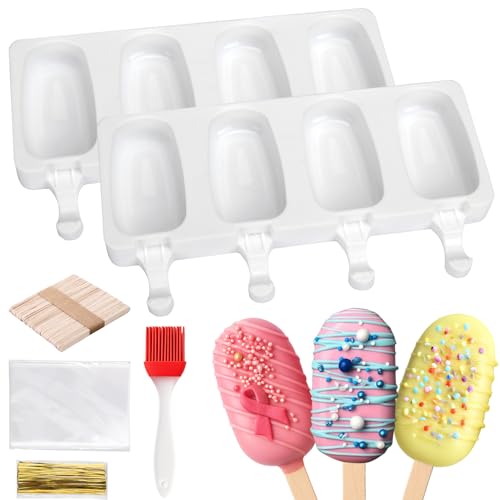
Certified Safe & Durable: This cake pop mold kit is crafted with 100% food-grade silicone, BPA-free. Withstands extreme temperatures from -40°C to 230°C (-104°F to 446°F), safely used in ovens, microwaves, freezers, and dishwashers. Perfect for kid-friendly treats without toxic worries!

Material premium: elaborado por plástico duradero y seguro, este fabricante de círculo de torta está construido para durar y garantiza un uso seguro y confiable.

DIMENSION:22.5*18cm;cavity diameter:4cm;WEIGHT:350g