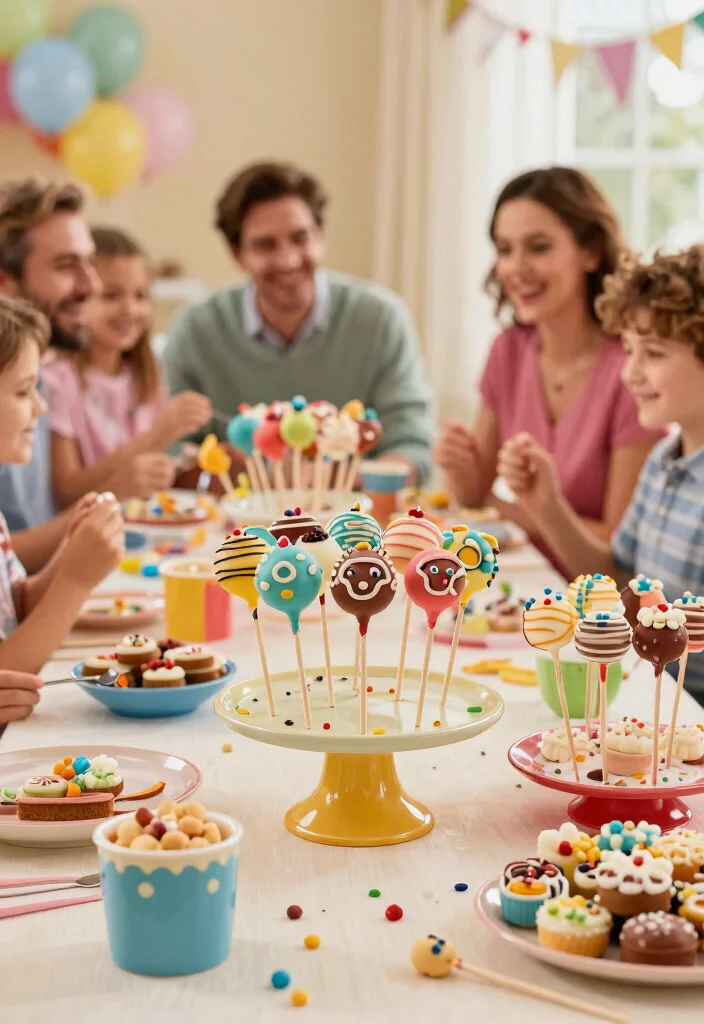
Let’s face it, we all have those moments when we crave a little nostalgia. Maybe it’s the smell of baked goods wafting through the kitchen or the sight of colorful cake pops that takes us back to simpler times. If you’re like me and love to relive those sweet memories, then you’re in for a treat. I created this post to celebrate the fun and delicious world of Little Debbie cake pops. These treats not only tap into the nostalgia of our childhood favorites but also bring a spark of joy to any gathering.
This post is for anyone who has a soft spot for Little Debbie treats, whether you’re a die-hard fan or just looking for easy dessert ideas that will impress your friends. Perhaps you’re planning a retro dessert party or simply want to add some fun snacks to your next celebration. You’ll find a variety of cake pop recipes inspired by classic Little Debbie snacks that are sure to delight both young and old alike.
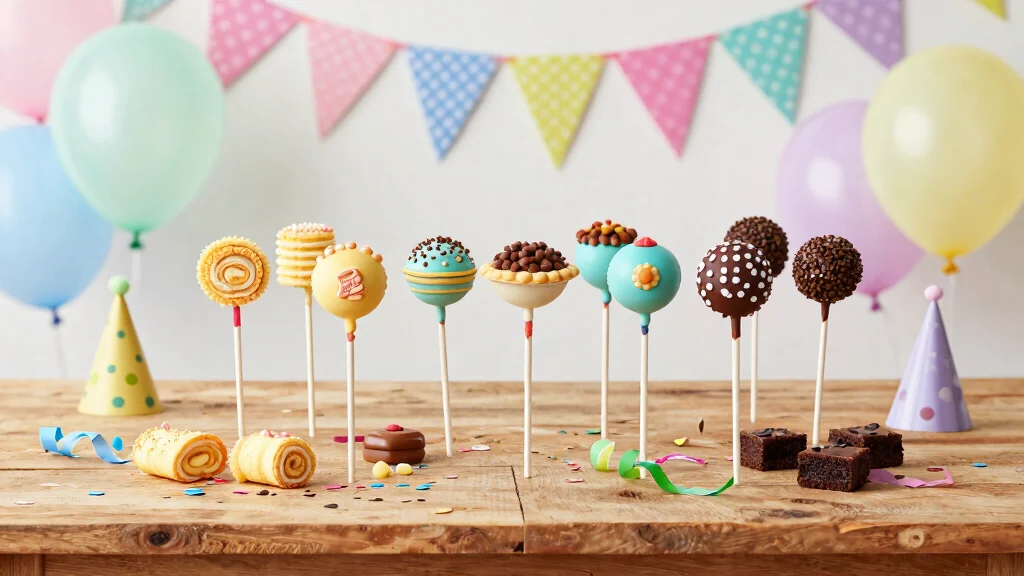
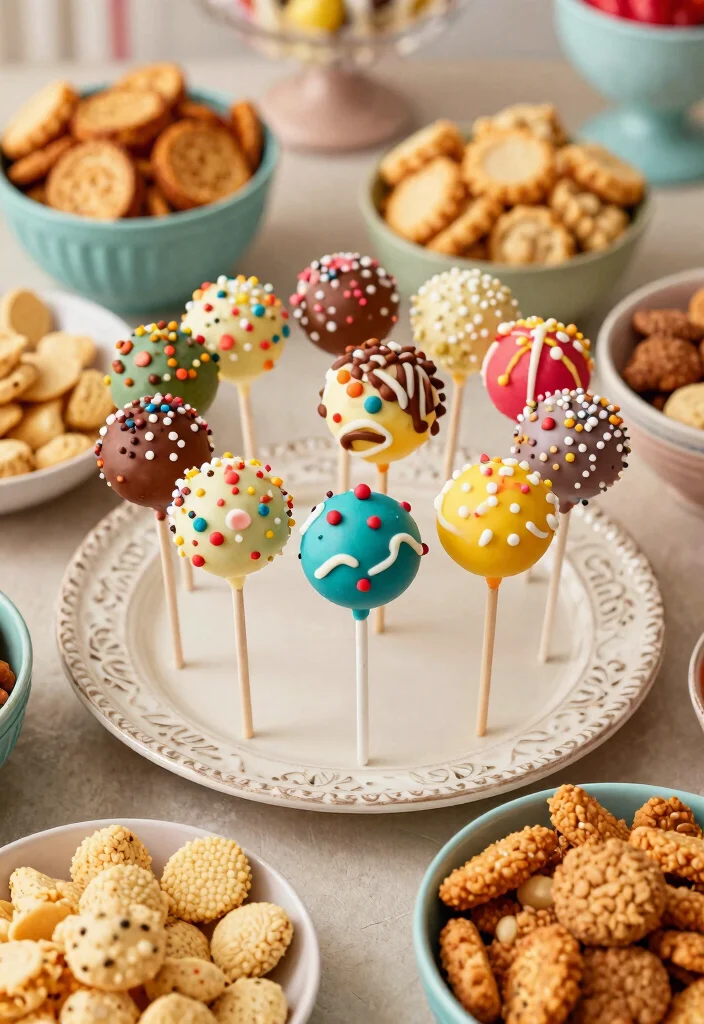
In this article, you’ll discover 16 creative Little Debbie cake pops ideas that are not only easy to make but also packed with that nostalgic flair we all love. From Swiss Cake Roll Pops to S’mores Cake Pops, each recipe offers a unique twist on familiar flavors. Get ready to roll up your sleeves and bring some sweet memories to life with these fun party snacks!
Key Takeaways
– Discover 16 different cake pop recipes inspired by your favorite Little Debbie treats that will evoke nostalgia and delight your taste buds.
– Learn how to make unique cake pops like Swiss Cake Roll Pops and Cosmic Brownie Pops that are both fun to create and delicious to eat.
– Find easy dessert ideas perfect for parties or gatherings that are sure to impress your friends and family.
– Each recipe includes simple ingredients and straightforward instructions, making it accessible even for novice bakers.
– Enjoy the process of creating these treats while reminiscing about childhood memories, providing a fun activity for both adults and kids alike.
1. Swiss Cake Roll Pops

Are you dreaming of a sweet treat that’s both fun and nostalgic? Swiss Cake Roll Pops are the perfect indulgence for any occasion. They combine the classic flavors of Swiss cakes with a creamy twist, making them not only delicious but also visually appealing. Plus, they’re simple to prepare, perfect for gatherings or a quick dessert fix.
Ingredients:
– 2 Swiss Cake Rolls
– 4 oz cream cheese, softened
– 1 cup chocolate chips for melting
– Sprinkles for decoration
Instructions:
1. Crush the Swiss Cake Rolls into fine crumbs in a bowl.
2. Add softened cream cheese and mix until fully combined.
3. Shape the mixture into small balls, about the size of cherries.
4. Melt the chocolate chips in a microwave-safe bowl. Dip the end of each lollipop stick into the chocolate, then insert it into each cake ball.
5. Coat each cake pop in melted chocolate, letting any excess drip off.
6. Decorate with sprinkles while the chocolate is still wet.
7. Place in a styrofoam block or on a baking sheet to set.
FAQs:
– Can I use store-bought Swiss cake rolls? Absolutely! Store-bought saves time and keeps it easy.
– How should I store leftover cake pops? Keep them in an airtight container in the fridge for up to a week.
2. Oatmeal Crème Pie Pops
Remember those delicious Oatmeal Crème Pies from your childhood? Now you can enjoy them as delightful cake pops! These pops are easy to make and capture the nostalgic flavors of the original treat. With a creamy filling and a crunchy coating, they are both satisfying and fun to eat.
Ingredients:
– 6 Oatmeal Crème Pies
– 4 oz cream cheese, softened
– 1 cup white chocolate chips for melting
– Chopped nuts or oats for decoration
Instructions:
1. Crumble the Oatmeal Crème Pies into a bowl.
2. Mix in the softened cream cheese until well blended.
3. Roll into small balls and place them on a baking sheet, inserting lollipop sticks into each ball.
4. Melt the white chocolate in a microwave-safe bowl.
5. Dip each cake ball into the melted chocolate, letting excess drip off.
6. Roll in chopped nuts or oats for added texture if desired.
7. Allow to set in the refrigerator.
FAQs:
– Can I freeze these pops? Yes, they can be frozen for up to a month; just thaw before serving.
– What can I use instead of cream cheese? Cream cheese gives the best texture, but mascarpone can be a great substitute.
3. Cosmic Brownie Pops
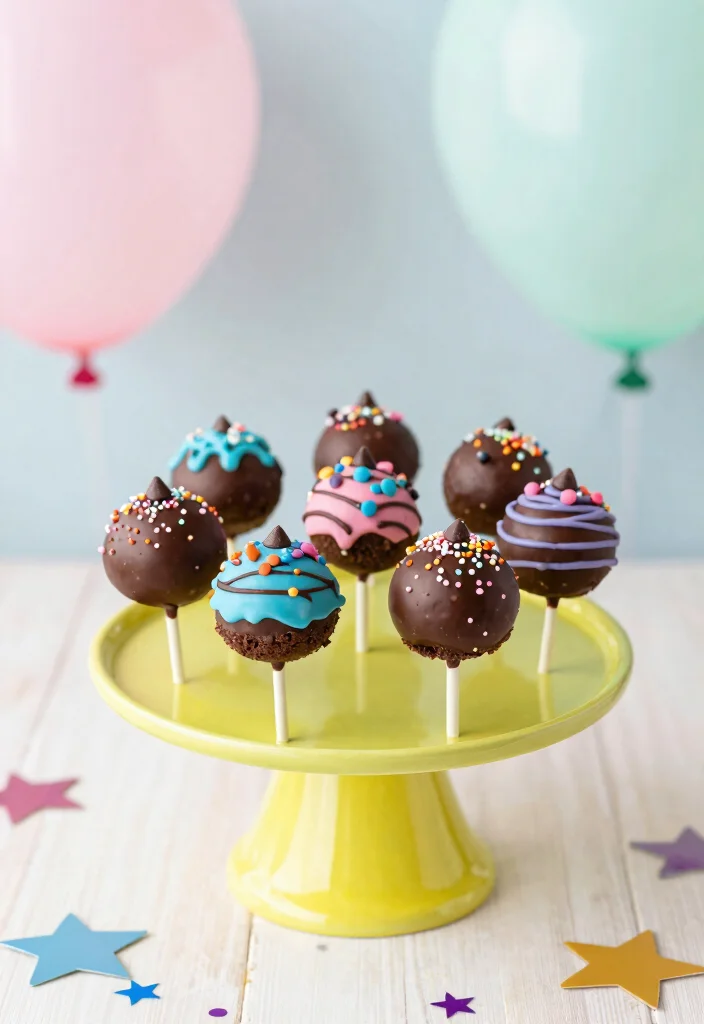
Cosmic Brownies are a beloved treat, and transforming them into cake pops is a fantastic way to enjoy them! Each bite is a rich blend of brownie and frosting, coated in colorful chocolate that’s sure to delight. They’re quick to prepare and make for a fun dessert option at any gathering.
Ingredients:
– 2 Cosmic Brownies
– 2 tbsp frosting
– 1 cup chocolate melts for dipping
– Mini chocolate chips and sprinkles for decoration
Instructions:
1. Crumble the Cosmic Brownies into a bowl.
2. Combine with frosting until the mixture is moist enough to roll into balls.
3. Roll into balls and place them on a baking sheet, inserting lollipop sticks.
4. Melt the chocolate melts in a microwave-safe bowl.
5. Dip each brownie ball into the melted chocolate and let excess drip off.
6. Top with mini chocolate chips or sprinkles while the chocolate is still wet.
7. Set in the fridge to solidify.
FAQs:
– Are these cake pops gluten-free? Cosmic Brownies are not gluten-free, but you can find gluten-free brownie alternatives.
– How long do these cake pops last? They can be kept in the fridge for up to a week.
Fun fact: turning two Cosmic Brownies into cake pops doubles your dessert mileage—about 24 bite-sized little debbie cake pops for your party. Quick, fun, and totally shareable, these treats spark nostalgia at any retro dessert gathering.
4. Zebra Cake Pops
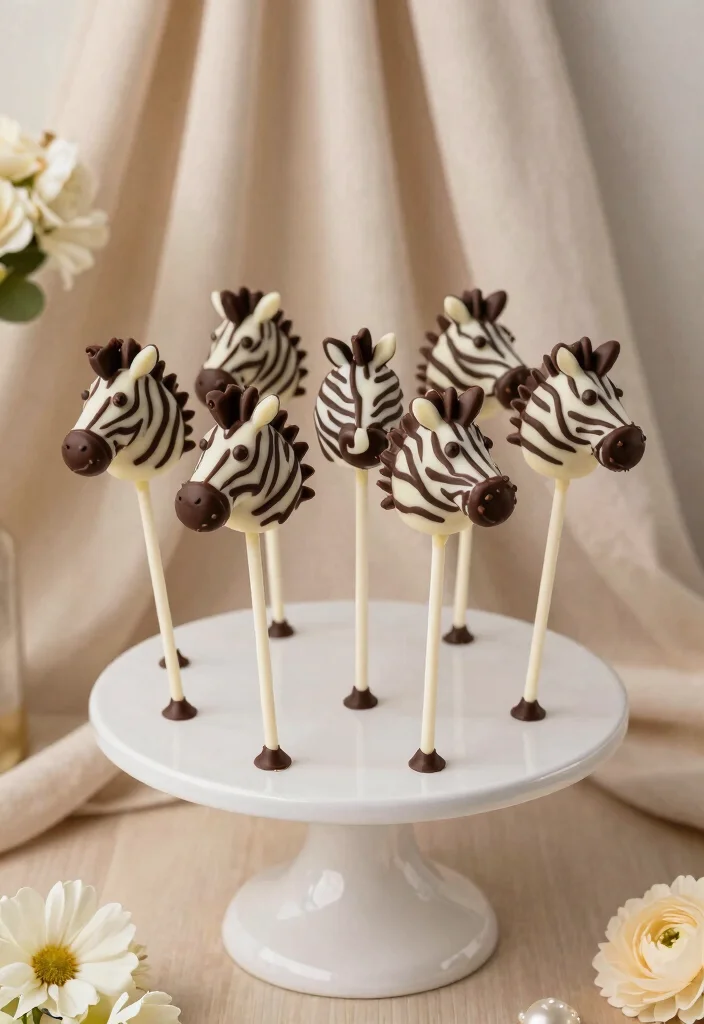
Zebra Cakes are not only delicious, but they also make stunning cake pops! Combining the sweet, creamy flavor with a touch of artistry, these pops are perfect for any gathering. Dipped in white chocolate and drizzled with dark chocolate, they’re visually enticing and utterly delightful.
Ingredients:
– 2 Zebra Cakes
– 4 oz cream cheese, softened
– 1 cup white chocolate chips for melting
– ½ cup dark chocolate chips for drizzling
Instructions:
1. Crumble the Zebra Cakes in a bowl.
2. Mix with cream cheese until well combined.
3. Roll into small balls and place on a baking sheet. Insert sticks into each ball.
4. Melt the white chocolate in a microwave-safe bowl.
5. Dip each cake pop into the melted white chocolate, letting excess drip off.
6. Melt dark chocolate and drizzle over the pops to create stripes.
7. Allow to set before serving.
FAQs:
– Can I make these in advance? Yes, they can be made a day ahead and stored in the fridge.
– What if I want to color the white chocolate? You can use food coloring to create fun pastel shades.
5. Little Debbie Snack Mix Pops
Why limit yourself to one treat when you can enjoy a mix of them? Little Debbie Snack Mix Pops are a delightful combination of various favorites. Packed with flavors from different Little Debbie snacks, these pops are sure to satisfy any sweet tooth. They’re playful, easy to make, and a guaranteed hit at any party!
Ingredients:
– 1 Swiss Cake Roll, crumbled
– 1 Oatmeal Crème Pie, crumbled
– 1 Cosmic Brownie, crumbled
– ½ cup melted chocolate for binding
– 1 cup chocolate melts for dipping
– Mixed sprinkles for decoration
Instructions:
1. Combine all crumbled Little Debbie snacks in a bowl.
2. Add melted chocolate and mix until well combined.
3. Roll the mixture into small balls and place them on a baking sheet. Insert lollipop sticks.
4. Melt the chocolate melts in a microwave-safe bowl.
5. Dip each pop in the melted chocolate and add sprinkles while still wet.
6. Set in the fridge to solidify.
FAQs:
– Can I use other snacks? Sure! Use any Little Debbie treats you love!
– How long do these last? Best enjoyed fresh, but they can be refrigerated for a week.
How To Choose the Right Little Debbie Cake Pops
Choosing the right Little Debbie cake pops for your nostalgic dessert party can be a fun adventure. These treats can bring back sweet memories while delighting your guests. To help you decide, here are some key criteria to consider:
1. Flavor Profile
The flavor is the heart of any dessert. Little Debbie offers various flavors, from chocolatey to fruity. Consider your favorite classic treats like Swiss Cake Rolls or Oatmeal Crème Pies. Think about what your guests might enjoy too. Mixing different flavors can make your cake pop selection even more exciting!
2. Visual Appeal
Presentation matters when it comes to desserts. Cake pops should be visually appealing. Bright colors and fun decorations can catch the eye. For instance, Zebra Cake Pops have a striking black and white design that stands out. Don’t shy away from adding sprinkles or colorful candy melts to enhance their look.
3. Dietary Considerations
Be mindful of any dietary restrictions your guests may have. Some may be gluten-free or vegan. Check the ingredients used in each Little Debbie snack. You can also create alternative cake pops using gluten-free cake mix or vegan frosting for those with restrictions, ensuring everyone can enjoy a treat.
4. Occasion Theme
Align your cake pop choices with the theme of your party. For a Halloween gathering, consider spooky-themed pops like S’mores Cake Pops decorated as ghosts. If it’s a birthday bash, Funfetti Cake Pops can add a festive touch. Tailoring your selections to the occasion can make the dessert table more cohesive and fun.
5. Preparation Time
Take into account how much time you have to prepare these treats. Some cake pop recipes may involve more preparation than others. If you’re pressed for time, opt for simpler recipes like Fudge Round Pops, which require minimal ingredients and effort. Planning ahead helps you manage your time effectively, ensuring a smooth party experience.
6. Budget
Keep your budget in mind while selecting cake pop ideas. Some ingredients can be more expensive than others. For a cost-effective option, consider making cake pops from Little Debbie snack cakes. They require fewer ingredients and can save you money while still delivering delicious flavors.
Pro Tip: Always test a small batch before your event. This allows you to see how the flavors come together and ensures you’re happy with the results. You can also get creative by mixing different Little Debbie treats into one cake pop, offering a unique twist that guests will love!
Choosing the right Little Debbie cake pops is all about flavor, presentation, and guest enjoyment. By considering these key factors, you can create a delightful dessert experience that pays homage to the nostalgia of your favorite childhood treats. Enjoy the process and have fun making these sweet creations!
6. Fudge Round Pops
Fudge Rounds are a chocolate lover’s dream come true, and as cake pops, they become even more indulgent! Mixing crushed Fudge Rounds with frosting creates a rich, chocolatey dough that’s simply irresistible. Coated in chocolate ganache, these pops are a must-have for any chocolate craving!
Ingredients:
– 2 Fudge Rounds
– 2 tbsp chocolate frosting
– 1 cup chocolate ganache for dipping
– Crushed cookies or white chocolate for decoration
Instructions:
1. Crumble the Fudge Rounds in a bowl.
2. Mix in chocolate frosting until a thick dough forms.
3. Roll into small balls and place on a baking sheet. Insert sticks into each ball.
4. Prepare chocolate ganache by melting chocolate with cream.
5. Dip each ball in chocolate ganache and let excess drip off.
6. Decorate with crushed cookies or drizzle white chocolate on top.
7. Refrigerate to set.
FAQs:
– What if I don’t have ganache? You can use melted chocolate chips as an alternative.
– How should I store extras? Keep them in an airtight container in the fridge for up to a week.
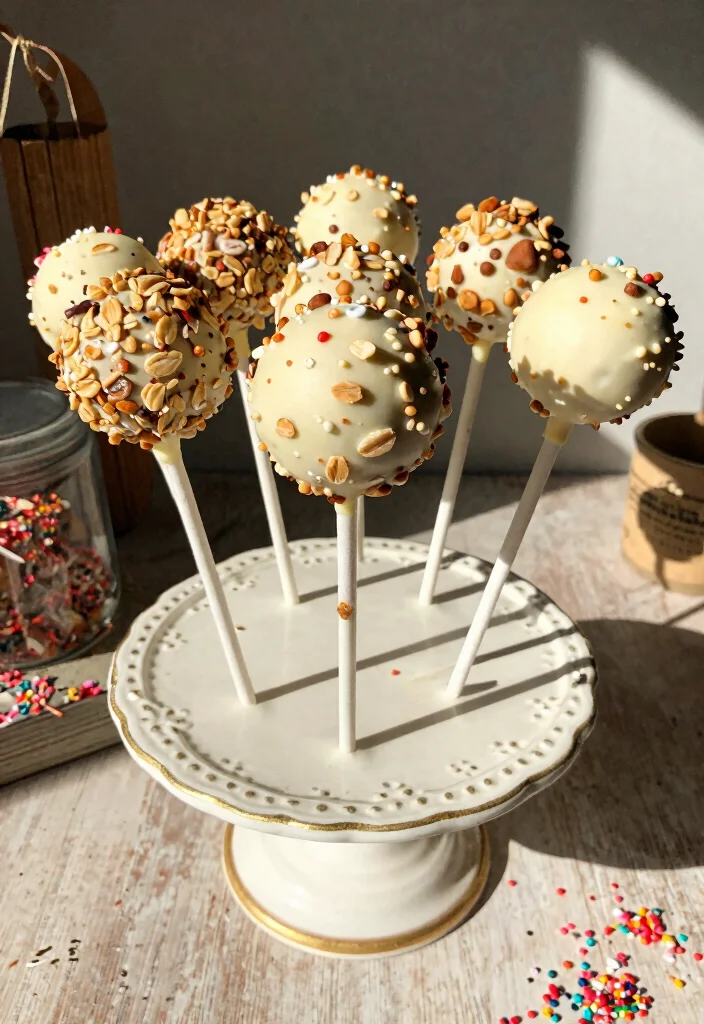
7. Honey Buns Cake Pops
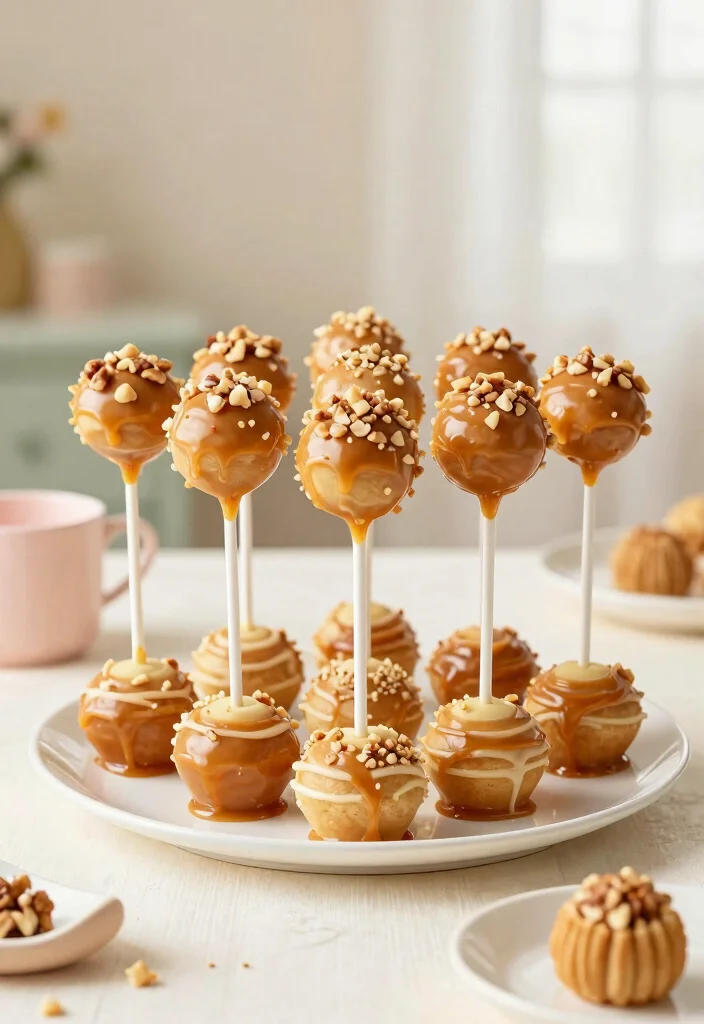
Honey Buns are a timeless treat, and transforming them into cake pops makes for an irresistible dessert! Combining the sweet taste of Honey Buns with cream cheese creates a rich and smooth filling. Coated in caramel or chocolate with a sprinkle of nuts, these pops are perfect for any occasion.
Ingredients:
– 2 Honey Buns
– 4 oz cream cheese, softened
– 1 cup caramel or chocolate melts for dipping
– Chopped nuts for decoration
Instructions:
1. Crumble the Honey Buns into a bowl.
2. Mix with cream cheese until combined.
3. Roll into balls and place on a baking sheet, inserting sticks.
4. Melt caramel or chocolate in a microwave-safe bowl.
5. Dip each ball into the melted coating, letting excess drip off.
6. Roll in chopped nuts for decoration.
7. Allow to set in the refrigerator.
FAQs:
– Can I use other cream fillings? Yes, any soft cream filling will work wonders!
– These can be frozen, correct? Yes! Just thaw before serving and enjoy!
8. Strawberry Shortcake Pops
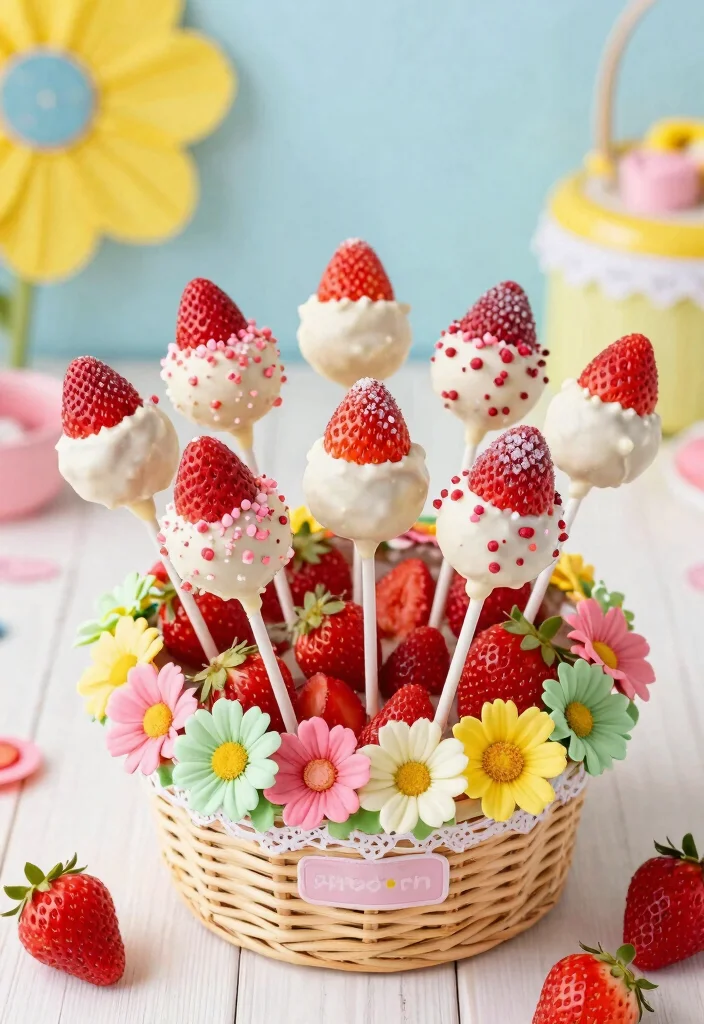
Craving something light and fruity? Strawberry Shortcake Cake Pops are the answer! These delightful treats capture the essence of summer with a rich strawberry flavor. Combining crumbled shortcake with whipped cream creates a fluffy, sweet base that’s dipped in creamy white chocolate. Finished with freeze-dried strawberries, they’re perfect for any gathering!
Ingredients:
– 2 Strawberry Shortcakes
– 4 oz whipped cream cheese
– 1 cup white chocolate chips for melting
– Crushed freeze-dried strawberries for decoration
Instructions:
1. Crumble the Strawberry Shortcakes in a bowl.
2. Mix in whipped cream cheese until well combined.
3. Roll into small balls and place on a baking sheet. Insert sticks into each ball.
4. Melt the white chocolate in a microwave-safe bowl.
5. Dip each cake pop into the melted chocolate and let excess drip off.
6. Sprinkle crushed freeze-dried strawberries over the top while still wet.
7. Set in the fridge to solidify.
FAQs:
– Can I use store-bought shortcakes? Definitely! It makes the process faster and easier.
– How should I store these pops? Keep in an airtight container in the fridge; they can last about a week.
Fun fact: Strawberry Shortcake Pops bring a bright, summery vibe to any party. Pro tip: crumble shortcake with whipped cream cheese, dip in white chocolate, and finish with freeze-dried strawberries to create 12 light, crowd-pleasing Little Debbie cake pops.
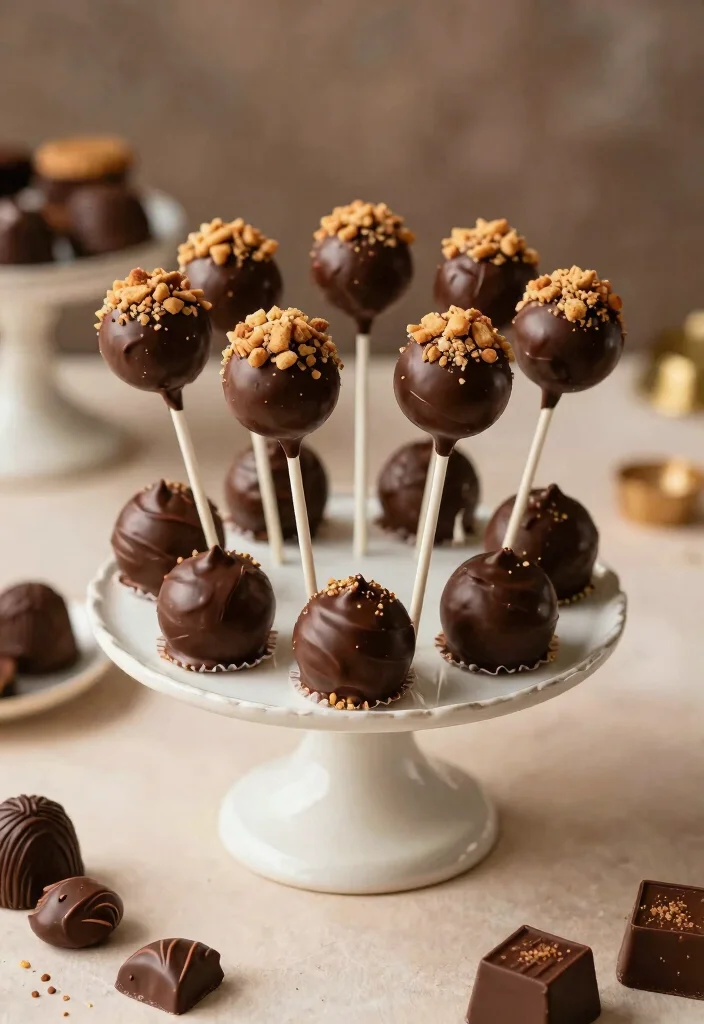
9. Nutty Buddy Pops
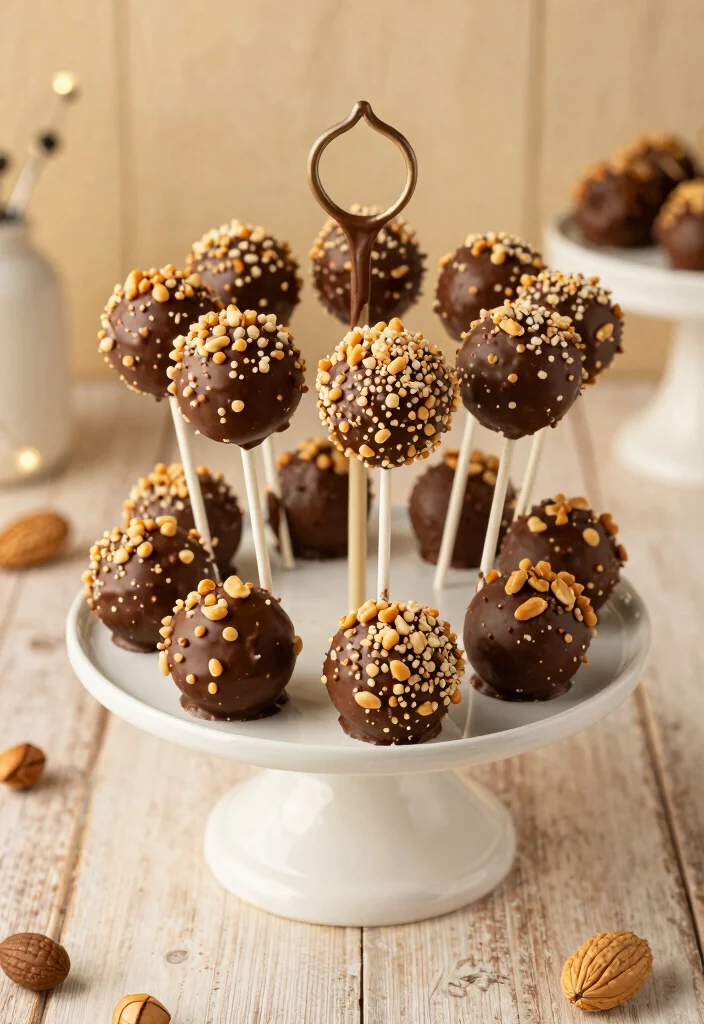
Nutty Buddies are a beloved snack, and turning them into cake pops adds a fun twist! Combining crumbled Nutty Buddies with chocolate frosting creates a rich and nutty flavor profile. These pops are easy to make and can be coated in melted chocolate for an extra indulgence. Topped with crushed peanuts, they’re sure to please everyone!
Ingredients:
– 2 Nutty Buddy Snacks
– 2 tbsp chocolate frosting
– 1 cup melted chocolate for dipping
– Crushed peanuts for decoration
Instructions:
1. Crumble the Nutty Buddies into a mixing bowl.
2. Combine with chocolate frosting until the mixture is moist and sticky.
3. Roll into small balls and place on a baking sheet. Insert sticks into each ball.
4. Melt the chocolate in a microwave-safe bowl.
5. Dip each ball into the melted chocolate and let excess drip off.
6. Roll in crushed peanuts for added crunch.
7. Refrigerate until set.
FAQs:
– Can I use other nut-based snacks? Yes, any nut-based treat would work well!
– How many days ahead can I make these? You can prepare them 2-3 days in advance.
10. Apple Pie Pops
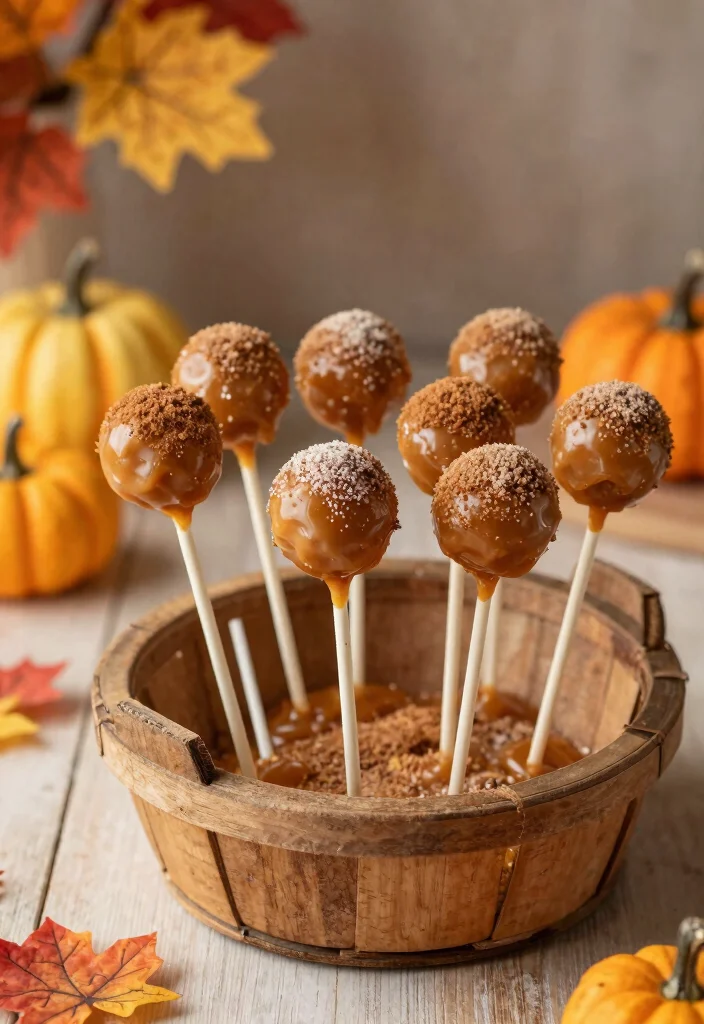
Nothing brings comfort quite like Apple Pie, and now you can enjoy it in cake pop form! These delightful treats combine crumbled pie crust with apple pie filling and cream cheese for a truly comforting dessert. Dipped in caramel or white chocolate, and sprinkled with cinnamon sugar, they’re perfect for fall gatherings or whenever you’re craving something warm and sweet!
Ingredients:
– 1 premade pie crust, crumbled
– 1 cup apple pie filling
– 4 oz cream cheese, softened
– 1 cup caramel or white chocolate for dipping
– Cinnamon sugar for decoration
Instructions:
1. In a bowl, combine crumbled pie crust, apple pie filling, and cream cheese.
2. Roll the mixture into small balls and place on a baking sheet. Insert sticks into each ball.
3. Melt caramel or white chocolate in a microwave-safe bowl.
4. Dip each ball into the melted coating, then let excess drip off.
5. Sprinkle cinnamon sugar on top while chocolate is still wet.
6. Set in the fridge to solidify.
FAQs:
– What if I can’t find premade pie crust? You can make your own pie crust from scratch if you prefer!
– How do I store them? Keep them in an airtight container in the fridge for about a week.
11. Zebra Cake Pops with a Twist
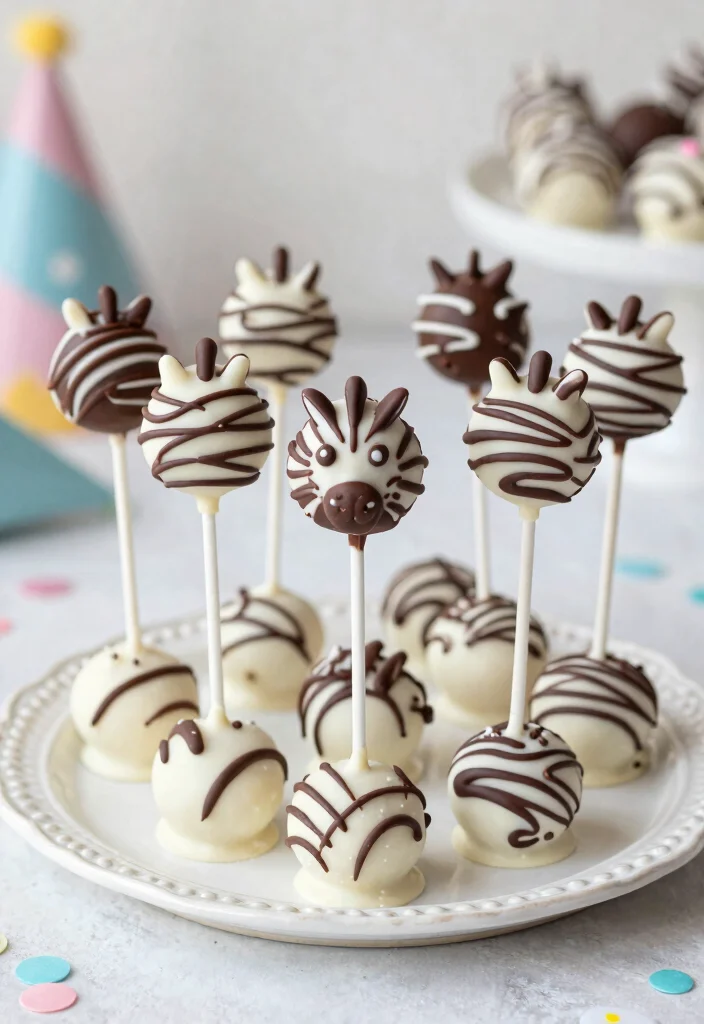
If you love Zebra Cakes, wait until you try these with a peanut butter twist! Mixing crumbled Zebra Cakes with peanut butter creates a unique and delicious flavor combination. Dipped in white chocolate and drizzled with dark chocolate, they’re both visually stunning and incredibly tasty. Perfect for chocolate and peanut butter fans alike!
Ingredients:
– 2 Zebra Cakes
– 4 tbsp peanut butter
– 1 cup white chocolate chips for melting
– ½ cup dark chocolate chips for drizzling
Instructions:
1. Crumble the Zebra Cakes into a bowl.
2. Add peanut butter and mix well until combined.
3. Roll into small balls and place on a baking sheet. Insert sticks into each ball.
4. Melt the white chocolate in a microwave-safe bowl.
5. Dip each cake pop into the white chocolate and let excess drip off.
6. Melt dark chocolate and drizzle over the pops to create the zebra stripes.
7. Allow to set before serving.
FAQs:
– Can I use crunchy peanut butter? Absolutely! Crunchy adds a nice texture contrast.
– How do I store the leftovers? Store in an airtight container in the fridge for a week.
12. S’mores Cake Pops
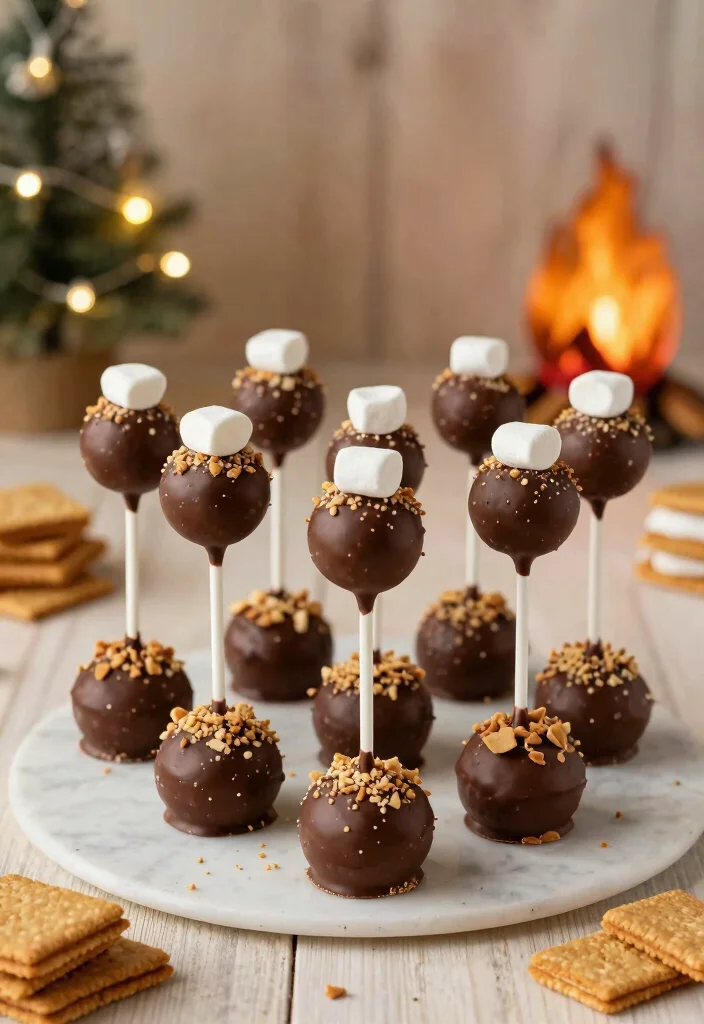
S’mores are a classic campfire treat, and now you can enjoy the flavors in cake pop form! Combining crumbled graham crackers, chocolate cake mix, and marshmallow fluff creates that gooey goodness we all love. Dipped in chocolate and topped with crushed graham crackers and mini marshmallows, these pops are a fun twist on a classic favorite!
Ingredients:
– 1 cup graham cracker crumbs
– 1 cup chocolate cake mix
– ½ cup marshmallow fluff
– 1 cup chocolate melts for dipping
– Mini marshmallows and crushed graham crackers for decoration
Instructions:
1. In a bowl, combine graham cracker crumbs and chocolate cake mix.
2. Mix in marshmallow fluff until a thick mixture forms.
3. Roll into balls and place them on a baking sheet, inserting sticks.
4. Melt chocolate melts in a microwave-safe bowl.
5. Dip each pop into the melted chocolate and let excess drip off.
6. Roll in crushed graham crackers and top with mini marshmallows.
7. Refrigerate until solid.
FAQs:
– Can I make these ahead of time? Yes! They can be made a day in advance.
– How do I store them? Keep in an airtight container in the fridge for a week.
13. Banana Pudding Pops
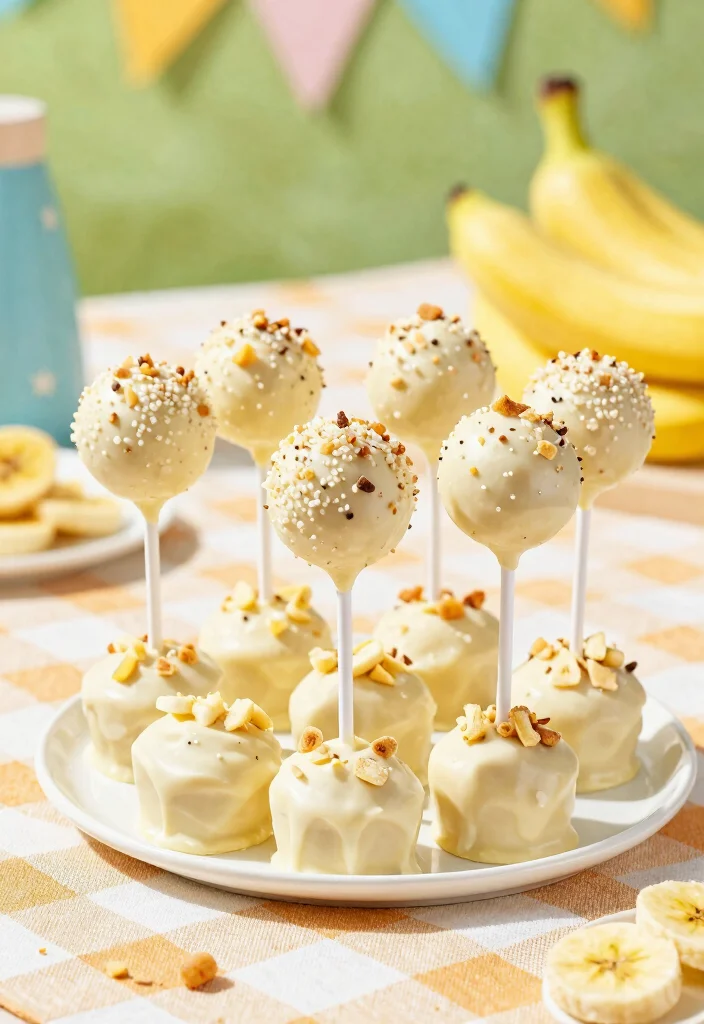
Banana Pudding is a classic dessert, and now you can enjoy it on a stick! These cake pops blend crumbled vanilla wafers with banana pudding mix and whipped cream for a sweet and creamy treat. Dipped in white chocolate and topped with crushed vanilla wafers and banana chips, they’re perfect for summer picnics!
Ingredients:
– 1 cup crumbled vanilla wafers
– 1 cup banana pudding mix
– 4 oz whipped cream
– 1 cup white chocolate melts for dipping
– Crushed vanilla wafers and banana chips for decoration
Instructions:
1. In a bowl, mix together crumbled vanilla wafers and banana pudding mix.
2. Fold in whipped cream until everything is combined.
3. Roll into small balls and place on a baking sheet, inserting sticks.
4. Melt white chocolate in a microwave-safe bowl.
5. Dip each ball into the melted chocolate and let excess drip off.
6. Roll in crushed vanilla wafers and top with banana chips for decoration.
7. Refrigerate until solid.
FAQs:
– What if I can’t find vanilla wafers? You can use any cookie or cracker for a different twist!
– How do I store these pops? Keep them in an airtight container in the fridge for up to a week.
14. Pumpkin Spice Cake Pops
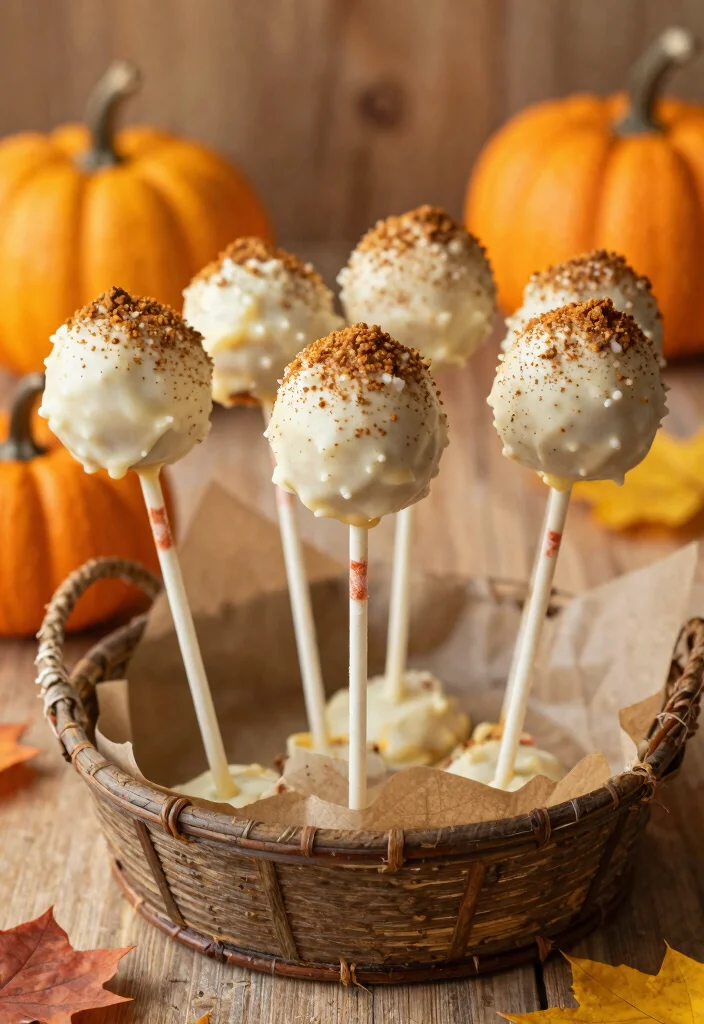
Embrace the flavors of fall with Pumpkin Spice Cake Pops! These treats blend crumbled pumpkin spice cake with cream cheese for a moist and flavorful filling. Dipped in white chocolate and topped with pumpkin pie spice or edible glitter, they’re perfect for autumn festivities. Enjoy this seasonal delight at any gathering!
Ingredients:
– 2 Pumpkin Spice Cakes
– 4 oz cream cheese, softened
– 1 cup white chocolate for melting
– Pumpkin pie spice for decoration
Instructions:
1. Crumble the pumpkin spice cakes in a bowl.
2. Mix with cream cheese until well combined.
3. Roll into small balls and place on a baking sheet, inserting sticks into each ball.
4. Melt the white chocolate in a microwave-safe bowl.
5. Dip each cake pop into the melted white chocolate, letting excess drip off.
6. Sprinkle with pumpkin pie spice while still wet.
7. Allow to set in the fridge.
FAQs:
– Can I use pumpkin puree instead? Yes, but you may need to adjust the quantity of cream cheese due to moisture.
– How should I store them? In an airtight container in the fridge for about a week.
Did you know Pumpkin Spice Cake Pops trend climbs 28% each autumn for Little Debbie Cake Pops? These seasonal treats blend pumpkin spice cake with cream cheese, then dip in white chocolate and sparkle with pumpkin pie spice. Quick tip: chill the centers before dipping for a glossy finish.
15. Chocolate Chip Cookie Pops
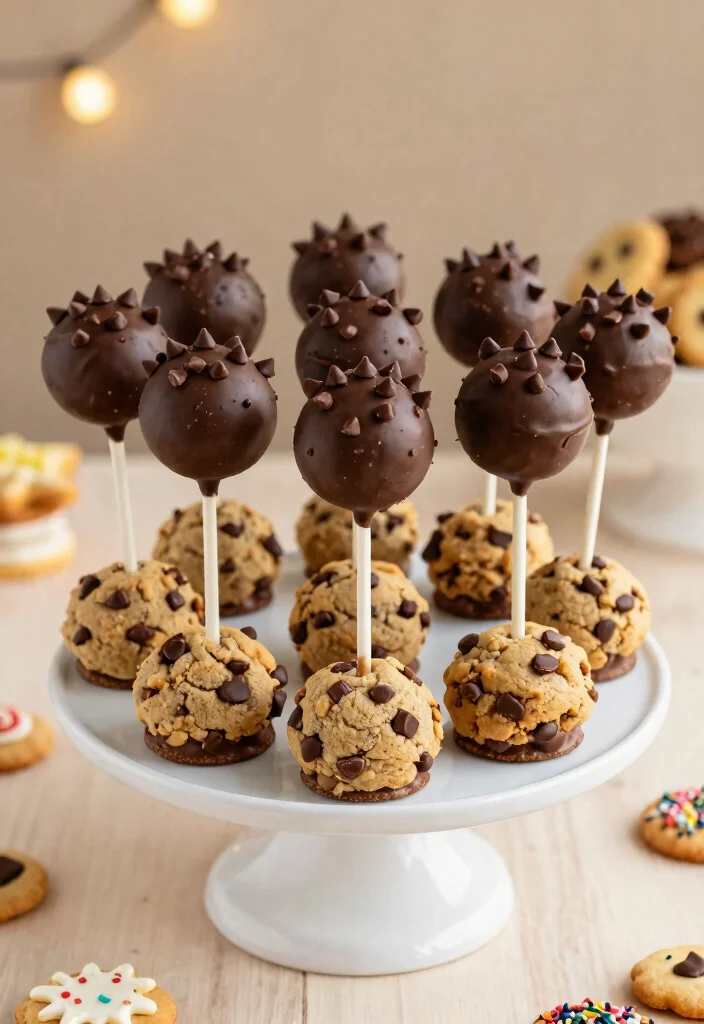
Chocolate Chip Cookie Cake Pops are a timeless treat that everyone loves! By mixing crumbled chocolate chip cookies with cream cheese, you create a delicious, sweet mixture. Roll it into balls, insert sticks, and dip in chocolate for a perfect finishing touch. These pops are sure to bring smiles to any gathering!
Ingredients:
– 2 Chocolate Chip Cookies
– 4 oz cream cheese, softened
– 1 cup chocolate melts for dipping
– Mini chocolate chips for decoration
Instructions:
1. Crumble the chocolate chip cookies in a bowl.
2. Mix in cream cheese until well blended.
3. Roll the mixture into small balls and place on a baking sheet, inserting sticks.
4. Melt the chocolate melts in a microwave-safe bowl.
5. Dip each ball into the melted chocolate, letting excess drip off.
6. Decorate with mini chocolate chips while still wet.
7. Let them set in the fridge.
FAQs:
– Can I freeze these cake pops? Yes, they freeze well for up to a month.
– How do I store them? Keep them in an airtight container in the fridge for a week.
16. Funfetti Cake Pops

Funfetti Cake Pops are all about joy and celebration! Mixing crumbled vanilla cake with sprinkles and cream cheese creates a festive treat that everyone will love. Roll the mixture into balls, insert sticks, and dip in colorful melts for a vibrant finish. These pops are perfect for birthdays, showers, or just a fun snack!
Ingredients:
– 2 cups crumbled vanilla cake
– 1 cup cream cheese, softened
– 1 cup colorful melts for dipping
– Extra sprinkles for decoration
Instructions:
1. In a bowl, combine crumbled vanilla cake with cream cheese and sprinkles.
2. Roll the mixture into small balls and place on a baking sheet, inserting sticks.
3. Melt the colorful chocolate melts in a microwave-safe bowl.
4. Dip each ball into the melted chocolate and let excess drip off.
5. Decorate with extra sprinkles while still wet.
6. Set in the fridge to solidify.
FAQs:
– What if my cake is too dry? Add a bit more cream cheese to moisten it up.
– Can I customize the flavors? Of course! Feel free to use any cake flavor you enjoy!
Conclusion
Creating Little Debbie Cake Pops is a delightful way to bring nostalgia to your dessert table while having fun in the kitchen. With a variety of flavors and styles, these cake pops will surely evoke cherished memories, while being a hit at any gathering. Whether you stick to the classics or get creative with your combinations, these treats are perfect for any occasion. So roll up your sleeves, gather your favorite Little Debbie snacks, and start making these delightful pops today!
Frequently Asked Questions
What are the easiest ways to turn Little Debbie treats into little debbie cake pops for a nostalgic party?
Making little debbie cake pops is a fun, easy dessert ideas project for a retro gathering. Start with classic Little Debbie treats like Oatmeal Creme Pies or Swiss Rolls.
Crumble the cake into fine crumbs, mix with a touch of cream cheese frosting to bind, roll into balls, and chill until firm.
Dip in melted chocolate or candy coating, insert a stick, and decorate with retro sprinkles for a nostalgic vibe.
Pro tip: keep the mixture a bit moist but not sticky to hold shape. Extras can be stored in the fridge for up to 3 days, or freeze for longer storage.
Which Little Debbie treats hold up best as cake pops and why do they feel the most nostalgic?
The best choices are dense, moist Little Debbie treats like Oatmeal Creme Pies and Swiss Rolls, because their crumb holds together when dipped and coated, giving stable cake pops for your cake pop recipes project. They also evoke nostalgic desserts memories from school lunches and parties.
For a lighter bite, crumble Zebra Cakes and coat with white chocolate to create a fun retro look.
Tip: chill the crumbs before forming, use a slightly sweeter coating to balance the filling, and store finished pops in the fridge.
Can you customize Little Debbie cake pops for a retro-themed party, and what ideas help them pop on the table?
Absolutely! To customize, pick a retro color palette (mint green, pink, yellow), use classic polka dots or stripe patterns, and add edible toppers like fondant shapes or tiny vinyl records. Wrap with retro-inspired packaging or use vintage fonts on labels.
Consider flavor pairings that echo old-school snacks to boost the nostalgic desserts vibe. With a little planning, these decorations make fun party snacks that shine on any dessert table.
How far in advance can I prep little debbie cake pops and keep them fresh for a retro party?
You can prep many elements ahead. Crumble and bind the cake one day before, shape into balls and freeze before dipping, then dip and decorate on party day.
Completed pops can be refrigerated in an airtight container for up to 3 days, or frozen up to 1 month. If freezing, thaw in the fridge and re-dip the coating for a glossy finish.
This makes easy dessert ideas practical for busy hosts.
What dipping options and toppings elevate Little Debbie cake pops for a nostalgic party?
Start with classic chocolate or white candy melts for a polished coat. Then roll or sprinkle with toppings that scream retro fun: crushed Oatmeal Creme Pies crumbs, colorful sprinkles, edible glitter, mini chocolate chips, shredded coconut, or candy pearls.
Try two-tone dips for a 60s/70s vibe and finish with a light dusting of powdered sugar. These ideas keep your cake pop recipes approachable and turn dessert into fun party snacks.
Related Topics
little debbie cake pops
nostalgic desserts
cake pop recipes
fun party snacks
easy dessert ideas
retro treats
childhood memories
themed desserts
party food
dessert trends
quick desserts
family-friendly