I’ll walk you through building a 3D rabbit cake I’ve made myself.
First, decide between a Wilton bunny pan or carving four 9×13 layers.
Sketching helps avoid mid-bake panic.
Next, bake at 350°F with room-temperature ingredients, cooling completely so the buttercream won’t melt.
Then level, stack, and carve the body, chilling for twenty minutes before sculpting curves that won’t collapse.
Freeze briefly, frost smooth with a hot spatula, and press coconut into the buttercream for fuzzy fur.
Finally, attach dried gum-paste ears on lollipop sticks, add edible features, and check the seams for a polished finish.
Choose Your 3D Bunny Cake Method and Plan the Shape
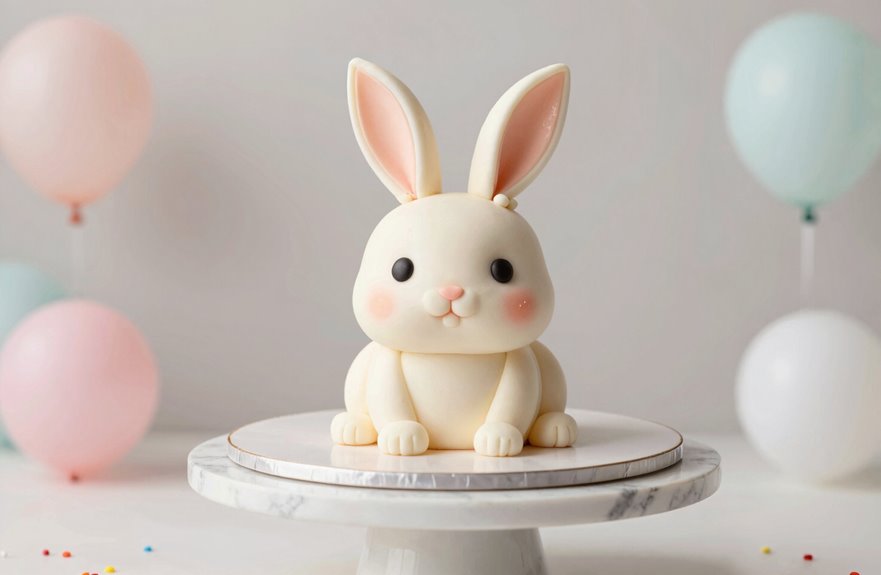
Before preheating the oven, decide how the rabbit will be assembled. Nothing is worse than realizing halfway through that the bunny’s ears are too heavy to stand up. You’ve got two solid paths: grab a bunny cake pan like Wilton’s 3D bunny that bakes as two halves, or build from carved cake layers yourself.
If going the carved route, sketch a head and body plan first. Four 9×13 layers stacked and leveled give a plump body; then shave them down with buttercream frosting between each layer. For ear add-ons, pre-made gum paste or fondant ears work best because they’re lightweight and sturdy. Visualize the 3D bunny’s silhouette early so the assembly steps flow smoothly, from dome-shaped head placement to those upright ears.

Two-piece formed lightweight aluminum two-piece bunny pan is designed to bake a fully three-dimensional bunny cake, perfect for Easter, spring celebrations, birthdays, or festive gatherings

Natural aluminum 3-D cake mold in the shape of a spring lamb, two-pieces create this classic freestanding cake

Easter Bunny Cake Pan - Durable Aluminum Mold for Cakes, Gelatin, and Desserts Create charming Easter and spring treats with this high-quality bunny-shaped baking pan.
Mix, Bake, and Cool Your Bunny Cake Layers

| Step | What I Do |
|---|---|
| Prep | Line pans, preheat oven to 350°F |
| Mix | Room-temp ingredients, smooth batter |
| Divide | Split between two pans evenly |
| Bake | Until centers set, toothpick clean |
| Cool | Cooling racks, patience required |
Let your cake layers cool completely on cooling racks before handling them. You’ll level the layers, add frosting between layers, and set one cake aside for the back shape and bunny head.

Material: Food-grade stainless steel bread knife, the handle is made of PP plastic, which conforms to the human body design, is easy to use, not easy to fall, and is comfortable to hold.

QUALITY CONSTRUCTION: Knife is precision-forged with high-carbon German cutlery steel for incredible long-lasting sharpness

QUALITY CONSTRUCTION: Knife is precision-forged with high-carbon German steel for better durability, and taper-ground edge allows for increased efficiency when cutting along with incredible long-lasting sharpness
Level, Layer, and Carve the Rabbit Body
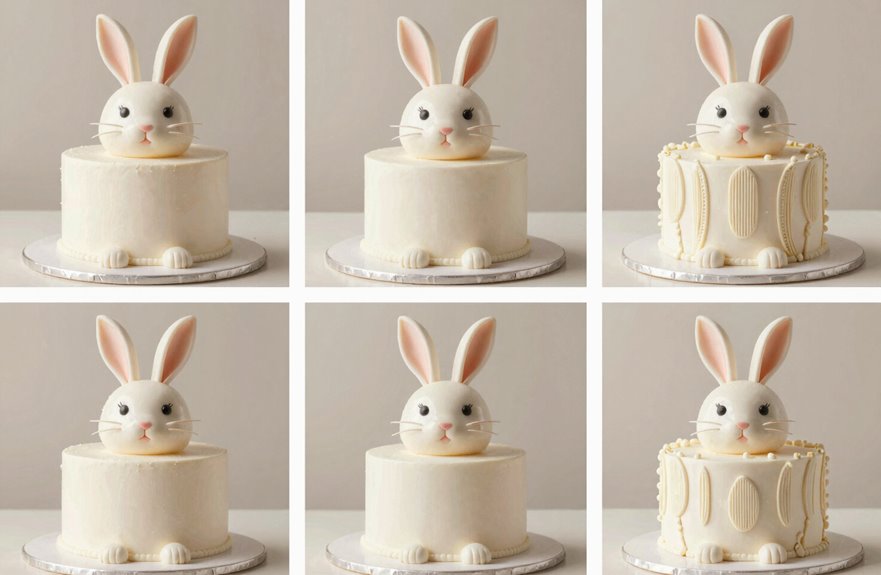
Why does that domed center on every cake layer matter so much? If I don’t level it, my stacked cake wobbles like a tilted tower. I’m grabbing my serrated knife and shaving those domes flat. No fancy tools required, just patience.
I layer four 9×13 cakes with buttercream between each, keeping that top layer whole for height and the rounded rabbit body back. I taper the bottom slightly to give the 3D cake natural curves. Buttercream firms up in the fridge for twenty minutes, then the real cake carving begins. I shave away chunks, shaping the torso until head and body proportions feel balanced for those upcoming ears.
Once satisfied, I wrap this carved cake in plastic. My parchment wrap trick works too. I freeze briefly so cold crumbs stay put, making final frosting actually enjoyable instead of frustrating.

[Rabbit Ears Mold]:you will get 1pcs Easter silicone fondant mold. The size of each mold is different;Please refer to the picture for the specific size. With this Bow silicone mold, it's easy to create detailed shapes in exciting designs, Great for decorating your cakes. Really a time saver! Enabling you to bring a quality to your work

【Silicone Fondant Mold】In this package there is 1 Bunny Ears silicone fondant mold. This Bunny Ears silicone mold can bring the perfect cake decoration for your party, bring best baking experience to you
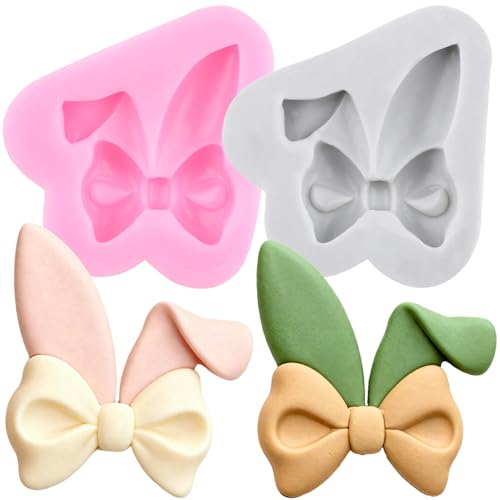
【Easter Rabbit Ear Fondant Mold】: You Will Get 2Pcs Bunny Ears Silicone Fondant Mold.Rabbit Ear Fondant Molds can help you easily design a variety of different shapes, perfect for cake decorating
Frost Smooth and Add Coconut Fur Texture
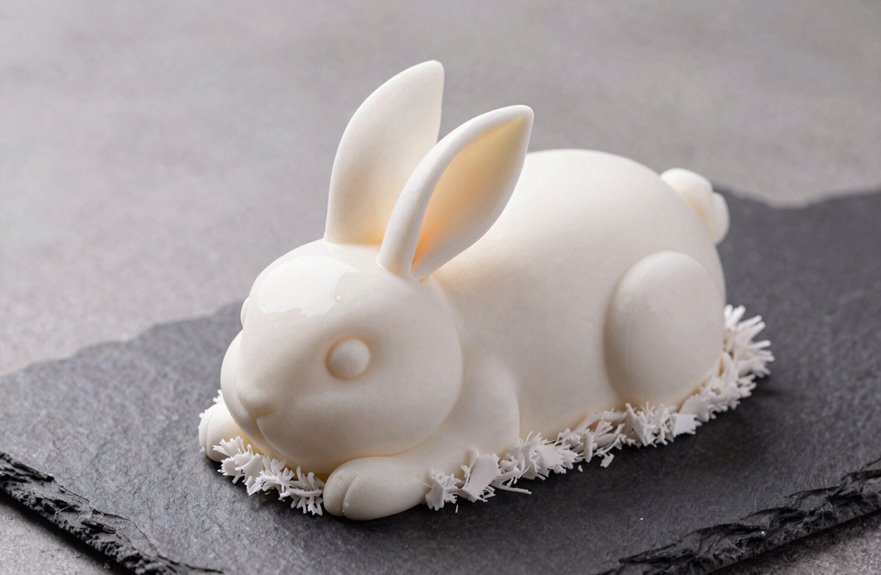
The carving’s done and my rabbit’s sitting in the freezer, hard as a rock. Now I’m slathering buttercream all over this bunny cake, working fast before the frosting sets. I’m using a Viva towel smoothing technique to get those rounded sides glassy smooth. The hot spatula works too if you’re careful.
Personality comes through in the next step. I press coconut fur into the buttercream for that fuzzy vibe, packing it tight for density. Want swirled fur texture instead? Grab a piping bag with a small tip and go wild.
I’ll pipe a pave border around the base first. It keeps everything neat. Afterward, I brush petals dust onto the pink cheeks and ear centers for that velvety finish. These edible decorations improve the final result.

Creamy coconut cake topped with delicious frosting and coconut shavings

One 16 oz. can of Duncan Hines Dolly Parton's Favorite Chocolate Buttercream Flavored Cake Frosting

Homemade: Beautiful, decorated homemade exotic coconut cake
Attach Ears, Add Facial Features, and Present

Now comes the make-or-break moment: transforming this frosted mound into an actual bunny. Gum paste with Tylose wins over fondant ears. Roll it ¼ to ⅛ inch thick, let it dry for two days, and you’ve got sturdy ears that won’t flop. I insert lollipop sticks into the bases, then push them into pre-made holes on my 3D rabbit’s head, securing with fondant glue.
For facial features, I align everything with that front notch I carved earlier. Two small edible eyes, a pink fondant nose, and rosy cheeks dusted with petal dust bring my bunny cake to life. I pipe a buttercream tail, add edible grass around the base, and draw a quick mouth. For presentation and display, I double-check that head-to-body connection. Stand back. You’ve built something substantial.

Two Professional Cake Decorating Spatulas: PUCKWAY offset spatula set comes in two different sizes: 6 inch and 8 inch blade. This is your best choice to decorate a cake perfectly.

【2 Pieces Cake Scraper Set with 2 Styles】You will receive 2 styles of cake scrapers, each measures approximately 8.7x3x0.1 inches. You can carve cakes of various shapes and sizes according to different themes, easily meeting your needs for making beautiful and delicate cakes

Perfect for icing cakes, brownies, and other pan baked goods