A cake filling is the hidden layer between cake tiers. Think fruit preserves, lemon curd, ganache, or stabilized whipped cream. Fillings add moisture, texture contrast, and flavor depth you won’t get from frosting alone. Unlike exterior frosting, fillings stay concealed, so they can be softer and wetter without ruining your cake’s appearance.
Loose fillings need containment. Pipe a 2–3 ring buttercream dam using a #12 tip around each layer’s edge to prevent seepage and sliding. This simple border creates structural integrity and keeps fondant pristine. Fillings blur the line with frosting sometimes, as buttercream does both jobs, but true fillings demand more care in assembly. The payoff is significant: that hidden pocket of raspberry compote or silky mousse transforms every bite from ordinary to memorable.
The following sections show exactly how to build these layers without the common assembly mistakes.
Cake Filling vs. Frosting: What’s the Actual Difference?
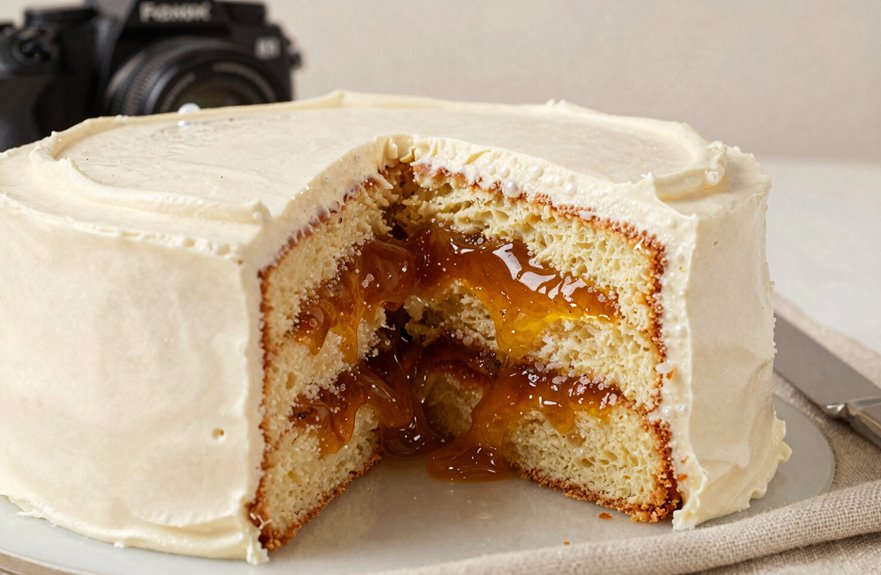
Why do we even distinguish between filling and frosting when both make cake taste incredible.
Filling hides between layers: fruit preserves, curds, custards, mousses. Frosting coats the outside, sealing everything in with buttercream, ganache, or cream cheese. That said, buttercream works for both applications. Some purists insist on strict separation, but functionality matters more than rigid categorization.
The technical consideration involves wet fillings, which need a dam. This piped buttercream border prevents seepage into your exterior finish. Without it, raspberry jam bleeds through white frosting. This structural problem requires advance planning.
The terminology blurs because ingredients overlap. Definitions matter less than structure, flavor balance, and building something that holds together when sliced. You’ll develop your own system based on what your specific cake requires.

2 PACK LISTING


Delicate apricots are sweetened with a hint of citrus and cooked slowly to make ready-to-use Solo Apricot Filling, the only choice for quick and easy desserts.
What Cake Fillings Actually Do (Texture, Moisture, Structure)
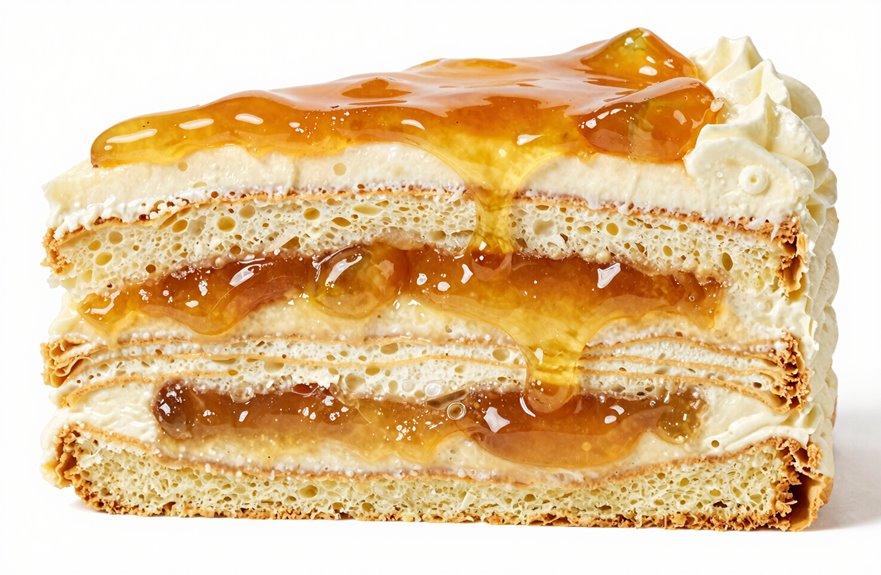
Fillings accomplish far more than flavor. They manage texture by creating contrast against cake crumb, control moisture migration to prevent soggy middles, and provide structural integrity so your layers don’t slide into a lopsided disaster. Each filling type handles these three functions differently, and choosing the wrong one means the difference between a stable showpiece and a collapsed mess.

Easy to spread, enjoy this curd on toast, biscuits, muffins, pastries or even as a cake filling.

Great Lemon Flavor

Luscious Lemon Elixir: Experience the vibrant and genuine taste of fresh lemons infused into every dollop of Campo D'Oro Lemon Curd.
Texture Enhancement Roles
How does a thin layer of buttercream or jam transform a simple stack of cake layers into something worth Instagramming? The answer lies in the mouthfeel created between those tiers. When building a cake, the goal is engineering contrast. A dense chocolate layer meets silky ganache. Tender vanilla sponge collides with chunky raspberry compote. That interplay, the give, the resistance, the surprise, keeps every bite alive.
Temperature and stability separate amateur stacks from professional builds. Stabilized whipped cream holds its shape through delivery, while loose custards demand same-day assembly. Textures must be planned strategically: firm dam borders contain soft centers, structural jellies support height. Choose wrong, and your masterpiece slumps. Choose right, and you’ve created something that tastes as incredible as it looks.
Moisture Retention Functions
Texture grabs your attention first, but moisture keeps you coming back for another bite. Fillings aren’t just flavor bombs; they’re moisture managers that keep cake layers tender without turning them soggy.
Water activity moves. Fruit purées and jams slowly migrate into crumb, softening structure unless you balance them. I always dam juicy fillings with buttercream to create a barrier that protects while still delivering that luscious bite.
Stabilized whipped cream changes the cake game. Added gelatin or instant clearjel locks moisture into the filling itself, preventing weeping between layers. The same principle applies to mousse-style fillings.
Year-round options like frozen berry compotes formulated to maintain texture upon thawing work reliably. The thickeners, pectin, cornstarch, and instant clearjel preserve firmness so moisture stays where it belongs: in every forkful, not puddled on the plate.
Structural Support Purposes
Why does a tall layer cake stand proud instead of sliding into a sugary landslide? Fillings do more than taste good. They’re architectural heroes. When I stack layers, I’m building a tower that needs internal support.
Structural choices matter:
| Filling Type | Stability Impact |
|---|---|
| Wet puddings/curds | Risk sliding; need setting |
| Stabilized creams/custards | Maintain height; prevent shift |
| Buttercream base with dam | Creates barrier; seals edges |
The filling dam technique transformed my cakes. I pipe a buttercream ring around each layer’s edge, then fill the center. This wall keeps wet fillings from leaking into outer frosting and preserves those clean sides. Without it, my layers used to shift out of alignment.
How to Match Cake Fillings to Your Base Flavor (Pairing Guide)
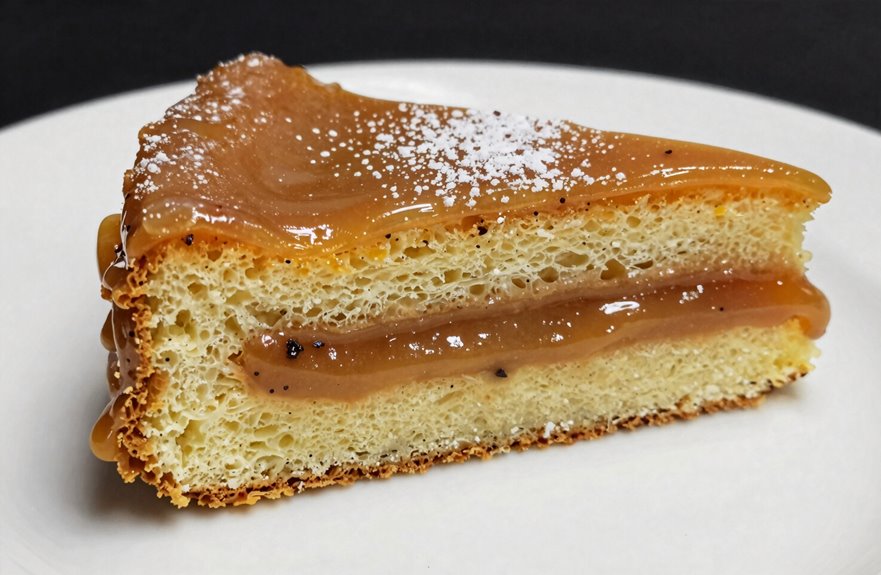
Where do I even start when I’ve got a naked cake layer staring back at me? Matching filling flavors to your base isn’t guesswork; it’s about balance and contrast.
Chocolate cakes crave richness. I reach for ganache, Nutella buttercream, or even lemon curd when I want that sweet-tart punch. The dense cake needs something that cuts through without disappearing.
Berry-based sponges pair well with compotes that bring natural tartness. Almond or vanilla cakes prefer gentleness; cream cheese frosting or light buttercreams enhance without overwhelming.
Citrus bases demand brightness amplified, not muted. Curds and lemon-zested buttercream do this perfectly.
For chocolate-heavy builds, double down with mousse or ganache. Sometimes lightening the load with vanilla or white chocolate instead creates better balance.


RICH FLAVOR & TEXTURE – Made with premium ingredients, Nuuva’s chocolate ganache has a luxurious taste and smooth texture that elevates any dessert. Semisweet chocolate ensures depth of flavor and perfect level of sweetness to enhance your dish.

Fruit-Based Cake Fillings: Compotes, Curds, and Jams
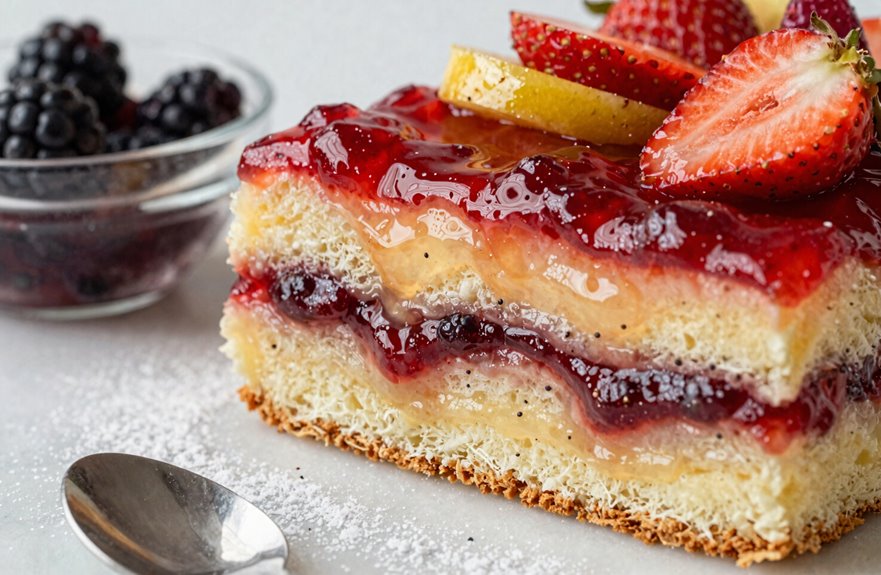
Once you’ve nailed the flavor pairing, it’s time to get your hands on the actual filling. I reach for fruit fillings when I want bright, natural flavor without heaviness.
Compotes are my weeknight hero. I simmer frozen raspberries or mixed berries for ten minutes, and I’ve got something gorgeous between layers. Year-round berries are available.
Lemon curd demands more finesse, but it’s worth it. I whisk in instant clearjel for that silky, stable texture that won’t weep into your sponge. It’s tart, rich, and surprisingly versatile.
For jams, I warm seedless varieties or Polaner All-Fruit, thin them slightly, then stabilize with dry gelatin. This prevents sliding during assembly and serving.
Pro move: pipe a buttercream dam around each layer’s edge. It keeps fruit fillings where they belong, inside your cake rather than pooling on the plate.

Eight 14 oz cans of Duncan Hines Whipped Cream Cheese Frosting

Ingredients: Dextrose, modified corn starch, phosphate

Give your desserts a burst of flavor with our easy-to-use pie and pastry filling squeeze packs. They're perfect for filling tarts, cupcakes, and pastries, and they make it simple to create stunning filled layer cakes.
Cream and Mousse Cake Fillings: Light, Rich, and Stabilized
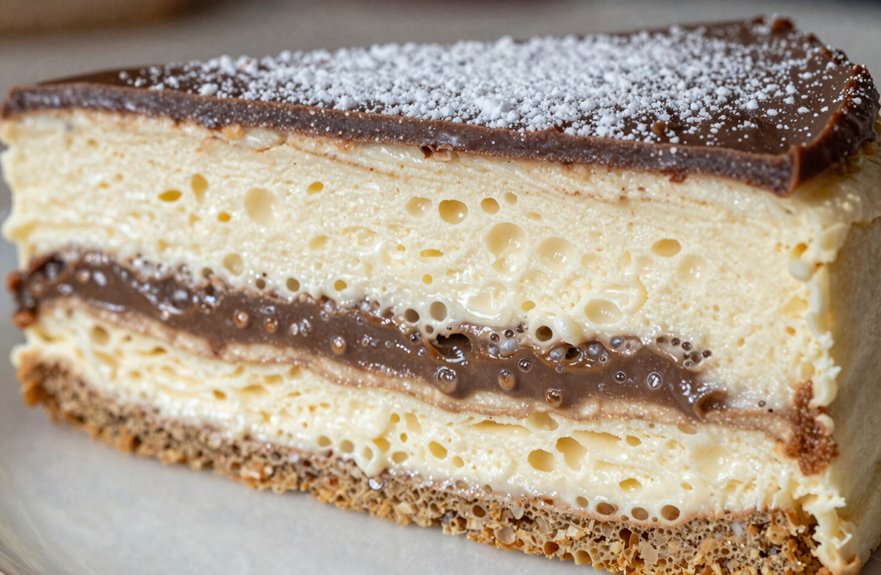
How do you add luxury without weighing your cake down? Cream and mousse fillings deliver cloud-like richness without the density that burdens a celebration cake.
What works best:
- Stabilized whipped cream holds its own thanks to gelatin or commercial stabilizers. This prevents weeping on humid days.
- Mousse fillings fold whipped cream into flavored bases for that airy mouthfeel that requires refrigeration.
- Classic options like Bavarian cream and cream cheese strike the perfect balance between moisture, sweetness, and structure.
Pipe a dam around your cake edges before adding these fillings. This prevents leaks and keeps borders clean. Mastering this technique ensures professional results.

【Round Piping Tip for Macarons – Flawless Shells Every Time】Achieve bakery-perfect macarons with the round piping tip for macarons included in this set. The #12 stainless steel round frosting piping tips create consistently smooth, uniform circles that rise evenly — no more lopsided or cracked shells. 3 identical tips per pack.

Starter Decorating Kit: Wilton Beginning Buttercream Decorating Set is an easy-to-use buttercream piping kit for beginner cake decorating

Round Decorating Piping Tip #12:Perfectly sized for small french macaron piping,pearls, balls, dots, outlines, and figures, as well as making flower centers for cake decorating.
Chocolate and Nut-Based Cake Fillings for Depth
I want to show you how rich ganache essentials and Nutella flavor pairings can transform an ordinary cake into something unforgettable. When I make ganache, I use a two-to-one chocolate-to-cream ratio for a thick, spreadable filling that sets firm but melts on your tongue. This works perfectly for sandwiching between sturdy cake layers. Nutella buttercream paired with a fudgy hazelnut center creates the chocolate-hazelnut combination that works especially well with a classic yellow cake that needs distinctive flavor depth.

Our Extra Fancy Candied fruit mix


Rich Ganache Essentials
Velvety ganache transforms ordinary cake layers into something worth sneaking a second slice of. This filling belongs in your baking arsenal.
Here’s what makes ganache special:
- It comes together in under ten minutes with just heavy cream and semi-sweet chocolate chips
- You can use it between layers and as a glossy drip once it cools
- That fudgy texture adds serious moisture without complicated ingredients
Ganache doubles down on chocolate flavor when paired with rich chocolate cake. It stands apart from fruit fillings by delivering pure, unapologetic depth. You don’t need pastry school credentials; just quality chocolate and patience while it sets. When you slice into those clean layers, the technique’s value becomes immediately clear.
Nutella Flavor Pairings
Ganache gives you that pure chocolate hit, but sometimes you want something with more personality. Nutella buttercream delivers that chocolate-hazelnut magic with a creamy, bakery-style finish. It transforms French vanilla or yellow cakes into desserts worth serving. For real depth, layer it with Nutella fudge filling, which creates that dense, glossy center with more complexity than ganache alone.
Pair Nutella buttercream with almond-forward bases or red velvet for effective contrast. The combination creates the ultimate chocolate hazelnut bite, perfect for indulgent desserts and tiered designs. When you stack these fillings together, you build a cohesive experience rather than just sweetness. Your guests will notice the thoughtful layering.
How to Build a Buttercream Dam for Cake Fillings
How do you keep luscious raspberry compote from oozing out between cake layers? I build a buttercream dam. It’s my secret weapon for clean, professional cakes.
Here’s how I do it:
- I fit a piping bag with a #12 tip and pipe a thick ring along the inner edge of my cake layer. This creates the wall that holds everything in.
- I make my dam 2–3 rings tall, matching whatever filling I’m using. Skip this step and the filling will seep through.
- I spread my filling evenly inside, then place the next layer level-side down to seal it.
I chill the cake briefly before my crumb coat. This sets the buttercream dam firm, preventing leaks and stains on fondant while keeping layers neat and properly structured.

The freshest fruits picked at their peak to deliver homemade taste and quality.

Gluten Free

Luscious Lemon Curd: Indulge in 10 oz of Paradigm Foodworks' scrumptious Sweet and Tangy Lemon Curd, expertly crafted with the finest ingredients, including real lemons, sugar, and eggs. Our luscious lemon curd offers an irresistible balance of flavors that will captivate your taste buds.
How to Layer Cake Without Leaks or Bulges
Why do so many layered cakes end up with lopsided bulges or filling oozing down the sides? Frustration with this problem is common.
Level each layer first. Flat sides matter. Place the leveled side down, then pipe a buttercream dam around the edge. That wall stops filling leaks before they start. Use a turntable and cake ring for stability; wobbly cakes compromise your results.
Spread filling evenly with an angled spatula, keeping heights uniform. Avoid mountain peaks in the middle. After stacking, pop the cake in the freezer for ten minutes. This locks everything in place before your crumb coat. Cold cake prevents bulges and leaks, resulting in clean sides.


Includes one 2 lb. bag of Chocolate Bavarian Cream pie and pastry filling

When to Prep Cake Fillings vs. When to Assemble
I’ve learned the hard way that timing your prep can make or break a cake. Stable fillings like jam or curd can hang out in my fridge for days, but I whip cream or mousse right before I need them so they don’t deflate into a sad puddle. On assembly day, I always chill my fillings first, especially juicy berry ones, and I’ll even pop filled layers in the freezer for 10–30 minutes before that final crumb coat because filling seeping through buttercream is a common problem.

PROFESSIONAL GRADE: Premium whipped cream powder mix designed for creating perfect dessert toppings with a light and fluffy texture

Give your desserts a burst of flavor with our easy-to-use pie and pastry filling squeeze packs. They're perfect for filling tarts, cupcakes, and pastries, and they make it simple to create stunning filled layer cakes.

VEGETABLE-BASED FORMULA: A high-performance, vegetable-based whipping cream powder designed for professional pastry applications. Provides a smooth texture and easy spreadability without cracking or watering.
Prep Timing Essentials
While the cake layers cool on my counter, I’m already thinking about when to prep my filling, because timing this wrong can turn a beautiful dessert into a sliding, soggy mess.
I whip cream and dairy-based fillings no more than 24 hours ahead. Longer, and they weep into my cake layers. Here’s what keeps me on track:
- I refrigerate whipped cream fillings overnight, then assemble quickly to lock in structure
- I pipe buttercream dams around jam or curd edges before adding filling; no sliding disasters occur
- I freeze filled layers for 10 minutes before crumb coating; that brief chill tightens everything beautifully
Fresh berries demand immediate assembly or stabilizers like gelatin. Juice waits for no one.
Freshness vs. Stability
I learned this balance the hard way after a whipped cream filling turned my three-hour masterpiece into a tilted disaster at my cousin’s wedding. Freshness matters, but timing matters more.
Whipped cream? I make it two hours before assembly, max. Otherwise, it weeps into your sponge and your cake starts sliding like a funhouse floor. Mousse needs similar respect. Whip it, chill it, use it within four hours or watch it deflate into a soggy shadow of itself.
Berries demand the freshest approach. I drain macerated fruit for fifteen minutes, then seal with a buttercream dam. Frozen berries work year-round; they actually control moisture better than peak-season impulse buys.
The strategy is simple: prep components early, assemble late. Your cake stays beautiful, and you keep your sanity.
Assembly Day Strategy
How do you keep a cake from collapsing into chaos when the clock’s ticking? Timing separates amateur bakes from showstoppers. Here’s my assembly day playbook:
- Prep fillings 1–2 days ahead. Chill whipped cream, curds, and mousses so they hold their structure.
- Pipe a buttercream dam around each layer’s edge; it corrals runny filling ideas like jam or fruit compote.
- Assemble within 3 hours of serving for lemon curd or fresh fruit to prevent sogginess.
After layering, pop the cake in the freezer for 10 minutes. This sets the dam and makes crumb coating easier. Keep buttercream between 68–80°F, and never refrigerate fondant. These small moves eliminate guesswork. Your cakes will maintain their structure and height through service.
Common Cake Filling Failures (and How to Prevent Them)
Why do so many beautiful cakes collapse into soggy, sliding disasters? Wet fillings like pudding, pastry cream, and jellies need a buttercream dam to keep them contained between layers. Without that barrier, you’re building a structure with insufficient support.
Whipped cream made day-of works best. When made ahead, it weeps into your sponge, thinning out overnight and turning your filling into a moisture migration problem. Fresh berries are gorgeous troublemakers since juice bleeds into icing like watercolor gone wrong. Freeze them first or add stabilizers to prevent this.
Gelatin works well for jammy layers that won’t shift. Fondant-covered cakes with delicate fillings should not be refrigerated, as chilling damages the texture. Room temperature storage preserves the cake’s structure.

Specialty tip for filling bismarcks, eclairs, and jelly doughnuts.

Essential Cake Decorating Kit: 16 numbered stainless steel piping tips, 100 disposable pastry bags, 1 reusable piping bag, 2 reusable couplers, 2 bag ties, and 3 cake scrapers. With just a few key decorating tools, you'll be able to make cake decorating a piece of cake.

PROFESSIONAL CAKE LCING NOZZLE:We offer 3pcs/set of long Cream Puff Nozzles so you can make a variety of different desserts, such as puffs,cup cakes,cream and other crowded butter and more!
Cake Filling Recipes by Category (From the Background Collection)
Where do you even start when the filling options seem endless? I’ve organized my go-to fillings into six flavor-packed groups so you can find your match without confusion.
- Rich & Decadent: Think ganache, ready in 10 minutes, and Nutella buttercream for serious chocolate lovers
- Bright & Fruity: Berry compotes using frozen fruit (also 10 minutes) and fresh strawberry or blueberry buttercreams that work year-round
- Tart & Creamy: Lemon curd, zested buttercreams, and stabilized cream cheese frostings that won’t slide off your layers
I always build a buttercream dam around wet fillings like ganache, curds, and compotes to prevent soggy cake syndrome. Freeze berries when fresh ones disappoint; they break down beautifully. Most of these pair with chocolate, vanilla, lemon, or spice cakes, so you have options whatever you’re baking.
Best Cake Fillings to Try First (Beginner Picks)
When you’re staring at an empty cake layer and your confidence needs bolstering, start with fillings that forgive your mistakes.
I’ll walk you through five beginner-friendly options. First, the Easy Blueberry Filling uses just four ingredients with frozen blueberries, so you’re never waiting for peak season. Rich Fudgy Ganache takes under ten minutes and doubles as a drizzle. Simple Raspberry Compote pairs beautifully with chocolate or lemon cakes, while Strawberry Compote transforms frozen berries into summer-fresh flavor in about ten minutes.
For something brighter, lemon curd works well. It’s smooth, pipes beautifully when dammed with frosting, and prevents seeping between layers. These recipes deliver reliable results without the stress of complicated techniques.